How To Remote SSH Into Raspberry Pi? A Beginner's Guide For Tech Enthusiasts
So, you’ve got your shiny new Raspberry Pi and you’re ready to dive into the world of remote computing. But how do you actually remote SSH into Raspberry Pi? It’s not as complicated as it sounds, and trust me, once you get the hang of it, you’ll wonder why you didn’t start sooner.
SSH, or Secure Shell, is like a secret handshake that lets you control your Raspberry Pi from another device. Whether you’re in the same room or across the globe, this method gives you full control over your tiny computer. It’s super handy if you want to manage your projects without being tied to your Pi’s physical location.
But before we dive deep into the nitty-gritty, let’s talk about why this matters. Knowing how to remote SSH into Raspberry Pi opens up a world of possibilities. You can set up home servers, automate tasks, or even build your own media center—all without needing to sit in front of your Pi. Ready to get started? Let’s go!
Read also:Unlock Your Movie Night With Skymovieshdin The Ultimate Guide
What is SSH and Why Should You Care?
SSH stands for Secure Shell, and it’s basically a protocol that lets you access and control another computer remotely. Think of it as a secure tunnel between your computer and your Raspberry Pi. It’s not just about convenience; SSH encrypts your data, so no one can snoop on what you’re doing. That’s why it’s widely used by developers, IT professionals, and hobbyists alike.
Why Use SSH for Raspberry Pi?
When you’re working with Raspberry Pi, SSH becomes your best friend. Here’s why:
- You don’t need a monitor, keyboard, or mouse connected to your Pi.
- You can manage your Pi from anywhere in the world as long as you have an internet connection.
- It’s secure and reliable, making it perfect for sensitive tasks.
Now, let’s break down the steps to remote SSH into Raspberry Pi like a pro.
Step-by-Step Guide: Remote SSH Into Raspberry Pi
Before we start, make sure your Raspberry Pi is up and running with the latest version of Raspberry Pi OS. If you’re new to this, don’t worry—we’ve got you covered.
1. Enable SSH on Your Raspberry Pi
The first step is to enable SSH on your Raspberry Pi. This is super easy, and you can do it in two ways:
- Using the Raspberry Pi Configuration Tool: Open the terminal on your Pi and type `sudo raspi-config`. Navigate to “Interfacing Options” and select “SSH”. Hit “Enable” and you’re good to go.
- Using the Command Line: If you prefer typing commands, you can enable SSH by running `sudo systemctl enable ssh` and then `sudo systemctl start ssh`.
Pro tip: If you’re setting up a fresh Raspberry Pi, you can enable SSH before even booting it up. Just create an empty file named “ssh” (no extension) in the boot partition of your SD card.
Read also:Why Vegamovies18 Is A Trending Topic Among Movie Enthusiasts
2. Find Your Raspberry Pi’s IP Address
To connect to your Pi, you need to know its IP address. Here’s how you can find it:
- Open the terminal on your Pi and type `hostname -I`. This will display the IP address.
- If you’re using a network scanner app on your phone or computer, it can also detect your Pi’s IP address.
Remember, your IP address might change if your router assigns a new one. To avoid this, consider setting a static IP for your Pi.
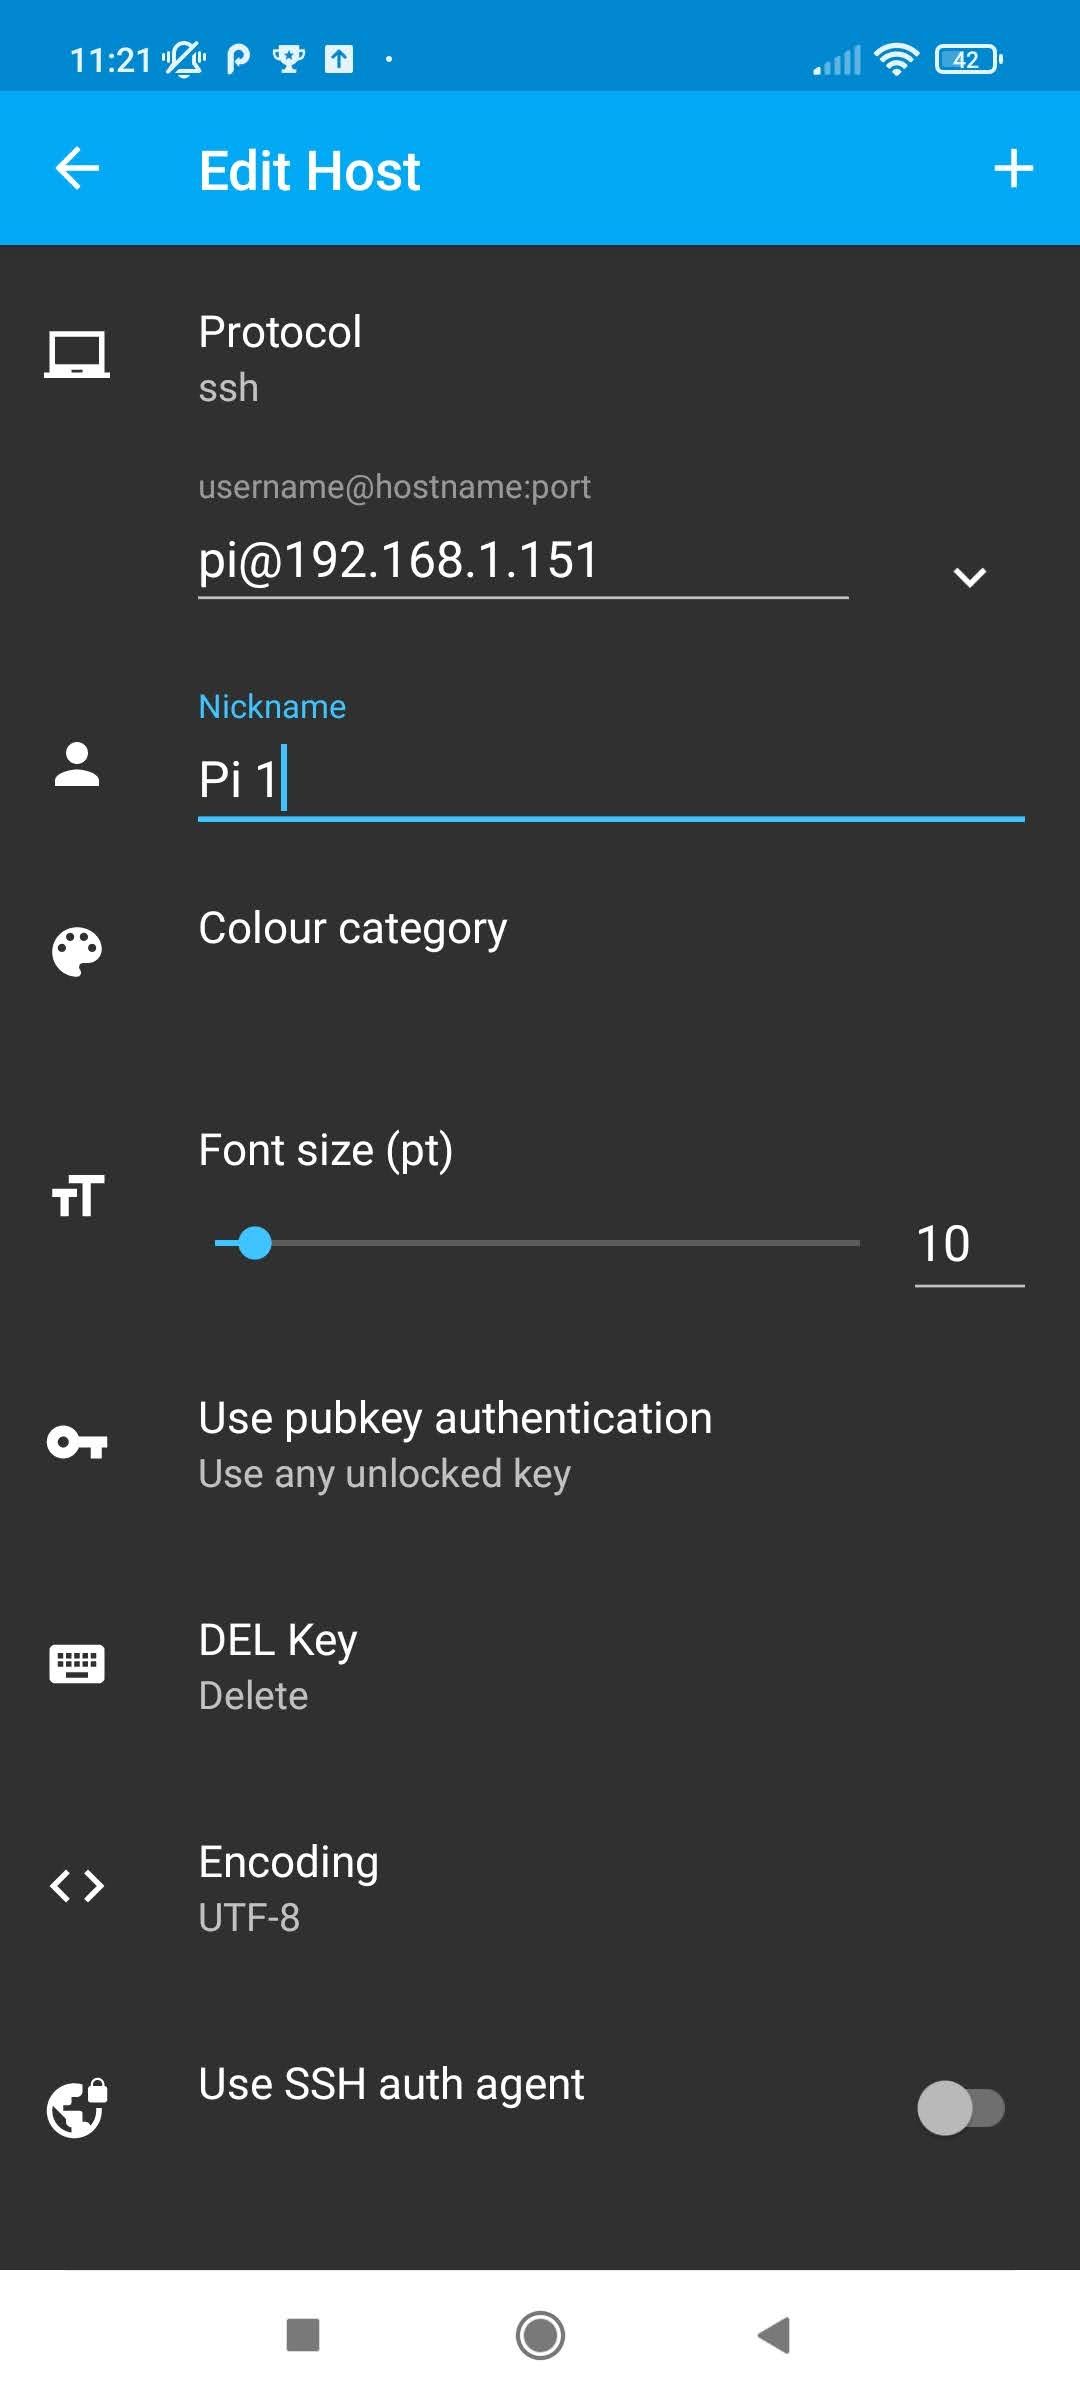
3. Install an SSH Client on Your Computer
Now that your Pi is ready, it’s time to set up your computer. Most modern operating systems come with SSH pre-installed, but if you’re not sure, here’s what you need:
- Windows: Use PuTTY or the built-in SSH client in Windows 10 and later.
- Mac/Linux: Open the terminal and you’re good to go. SSH is already installed.
Let’s say you’re using a Mac. Open the terminal and type `ssh pi@
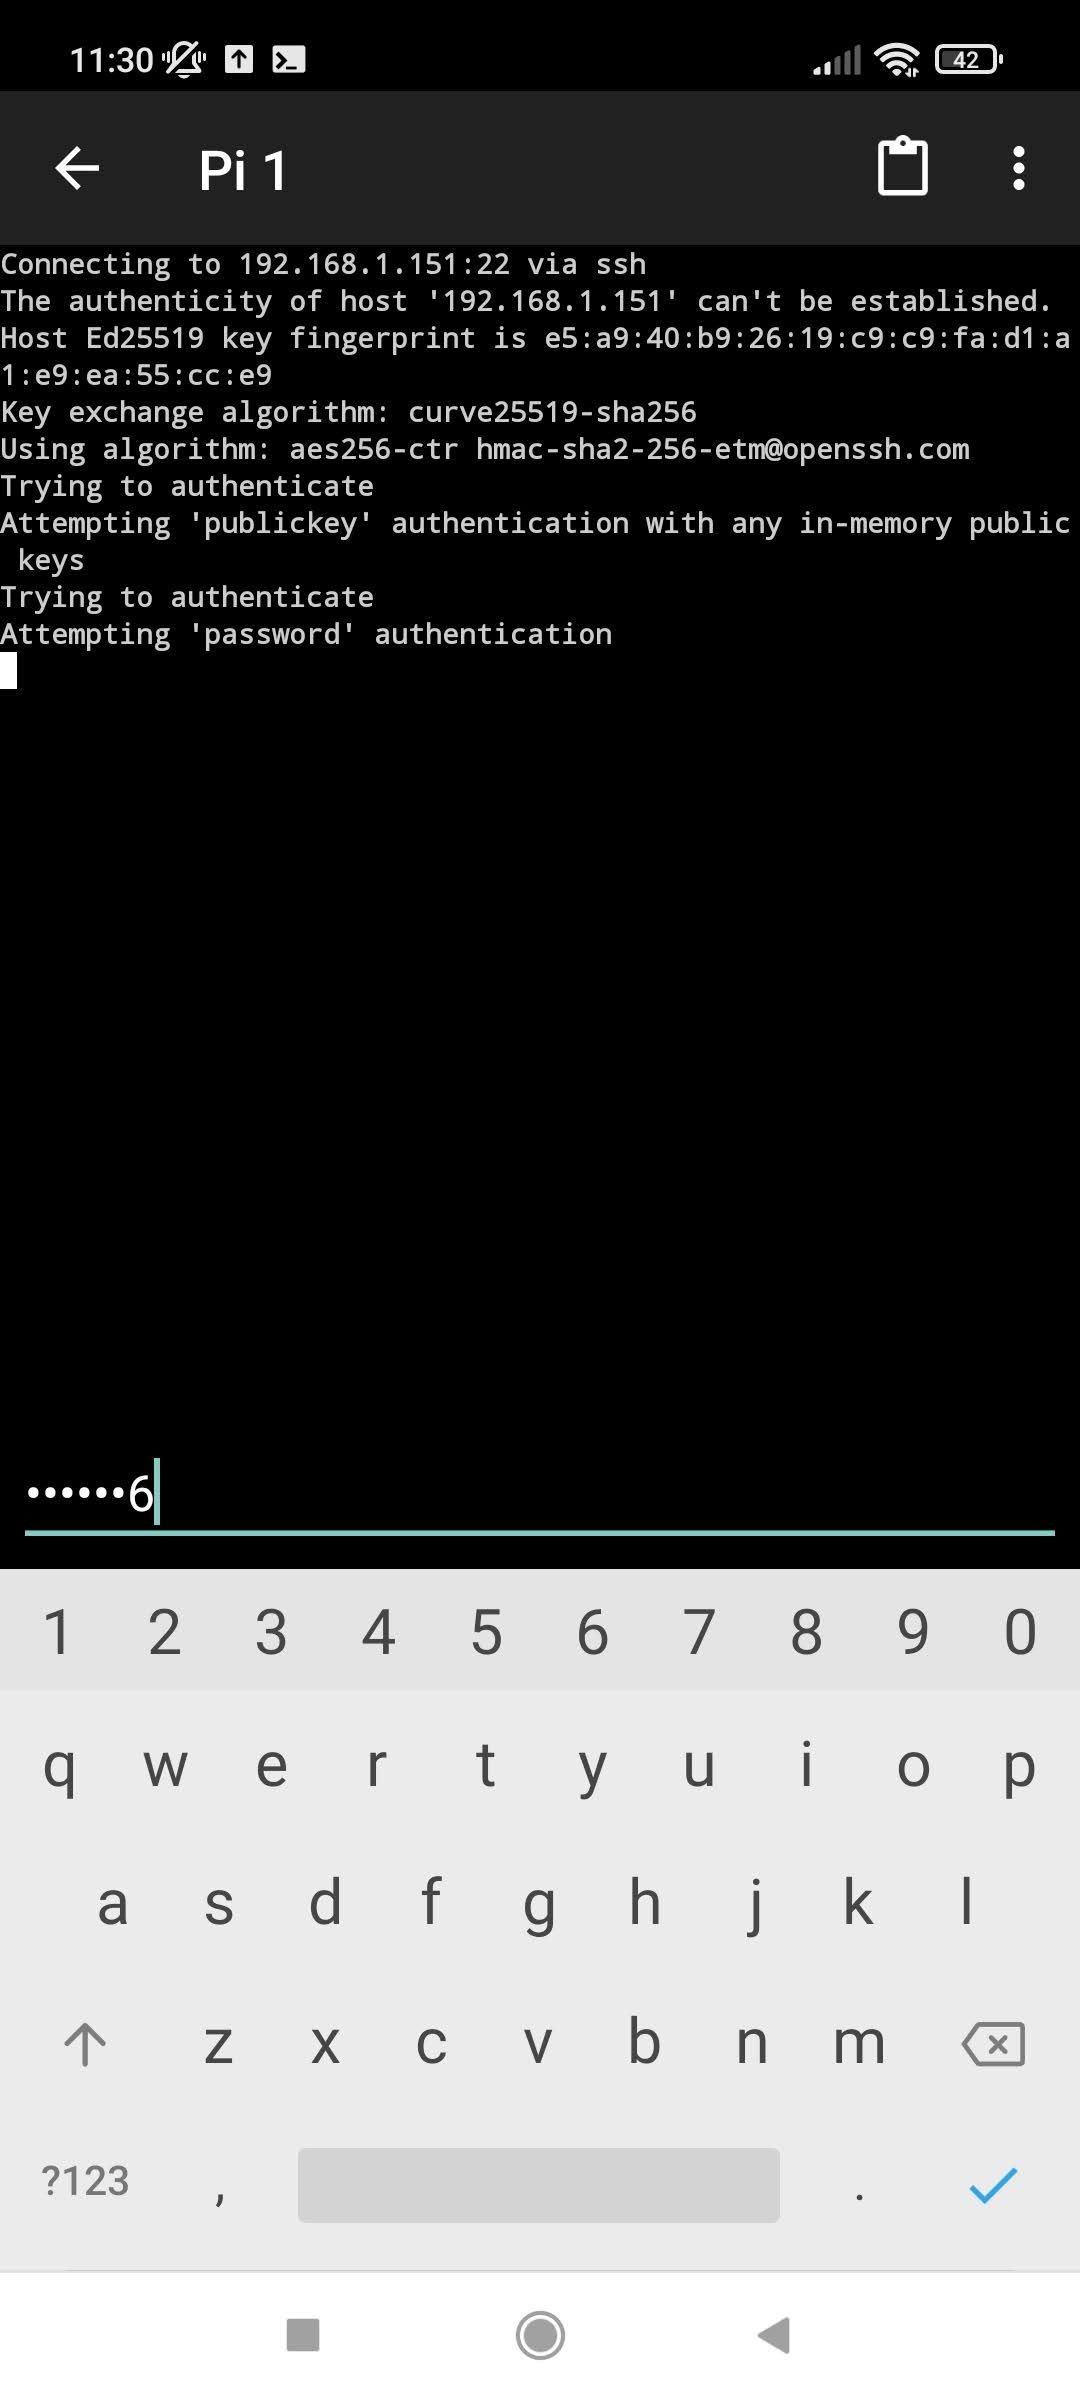
4. Connect to Your Raspberry Pi
Once you’ve entered the password, you’ll be logged in to your Pi’s terminal. Congratulations! You’ve successfully remote SSH into Raspberry Pi. Now you can run commands, install software, and manage files just like you would if you were sitting in front of it.
If you’re using PuTTY on Windows, simply enter the IP address in the “Host Name” field, choose SSH as the connection type, and click “Open”. A terminal window will pop up, and you can log in using the same credentials.
Troubleshooting Common Issues
Even the best-laid plans can hit a snag. Here are some common issues you might face and how to fix them:
- “Connection Refused” Error: This usually means SSH isn’t enabled on your Pi. Double-check the steps in the “Enable SSH” section.
- Wrong IP Address: Make sure you’re using the correct IP address. If it keeps changing, set a static IP for your Pi.
- Password Issues: If you’re having trouble logging in, try resetting the password on your Pi.
Still stuck? Don’t worry. There are plenty of resources online, and the Raspberry Pi community is always ready to help.
Advanced Tips for Power Users
If you’re already comfortable with the basics, here are some advanced tips to take your SSH skills to the next level:
1. Use SSH Keys for Passwordless Login
SSH keys are like digital passports that let you log in without entering a password every time. Here’s how to set them up:
- Generate a key pair on your computer using `ssh-keygen`.
- Copy the public key to your Pi using `ssh-copy-id pi@
`. - Test the connection. You should now be able to log in without a password.
2. Set Up Port Forwarding
If you want to access your Pi from outside your local network, you’ll need to set up port forwarding on your router. This allows incoming SSH connections to reach your Pi. Be careful, though—exposing your Pi to the internet can pose security risks if not done properly.
3. Use a Dynamic DNS Service
Your home IP address might change occasionally, making it hard to connect to your Pi remotely. A dynamic DNS service assigns a fixed domain name to your IP address, so you can always find your Pi no matter what.
Security Best Practices
With great power comes great responsibility. Here are some tips to keep your Raspberry Pi secure:
- Change the default password immediately.
- Disable password-based login and use SSH keys instead.
- Regularly update your Pi’s software to patch security vulnerabilities.
Remember, security is an ongoing process. Stay vigilant and keep learning about the latest threats and protections.
Real-World Applications
Knowing how to remote SSH into Raspberry Pi isn’t just a cool party trick—it has real-world applications. Here are a few ideas to get you started:
- Home Automation: Control smart devices in your home using SSH commands.
- Web Server: Set up a web server and manage it remotely.
- Media Center: Stream movies and music from your Pi to other devices.
The possibilities are endless. Let your imagination run wild!
Conclusion
So there you have it—a comprehensive guide on how to remote SSH into Raspberry Pi. From enabling SSH to troubleshooting common issues, we’ve covered everything you need to get started. Remember, practice makes perfect. The more you play around with SSH, the more comfortable you’ll become.
Now it’s your turn. Try out what you’ve learned and let us know how it goes. Feel free to leave a comment below or share this article with your friends. Who knows? You might inspire someone else to dive into the world of Raspberry Pi too.
Oh, and one last thing—if you’re looking for more tutorials, tips, and tricks, stick around. We’ve got plenty more where this came from!
Table of Contents
- What is SSH and Why Should You Care?
- Why Use SSH for Raspberry Pi?
- Step-by-Step Guide: Remote SSH Into Raspberry Pi
- 1. Enable SSH on Your Raspberry Pi
- 2. Find Your Raspberry Pi’s IP Address
- 3. Install an SSH Client on Your Computer
- 4. Connect to Your Raspberry Pi
- Troubleshooting Common Issues
- Advanced Tips for Power Users
- 1. Use SSH Keys for Passwordless Login
- 2. Set Up Port Forwarding
- 3. Use a Dynamic DNS Service
- Security Best Practices
- Real-World Applications
- Conclusion


