Level Up Your Tech Skills: Remote SSH Into Raspberry Pi Like A Pro!
So, you’ve got this little powerhouse called a Raspberry Pi sitting on your desk, and you want to tap into its full potential, right? Well, buckle up because we’re diving headfirst into the world of remote SSH into Raspberry Pi. Whether you’re a seasoned tech enthusiast or just starting your journey in the world of IoT and networking, this guide will be your golden ticket to mastering remote access. It’s like giving your Raspberry Pi superpowers, but without the cape!
Now, before we jump into the nitty-gritty, let me ask you something—how often do you find yourself tied to your computer or physically present near your Pi just to manage it? Not cool, right? That’s where SSH (Secure Shell) comes in. It’s the ultimate remote control tool that lets you access your Raspberry Pi from anywhere in the world, as long as you’ve got an internet connection. Think of it as a secret handshake between you and your Pi, only this one’s encrypted and way cooler.
But hey, don’t worry if you’re new to all this tech jargon. We’ll break it down step by step, ensuring you not only understand the process but also feel confident enough to implement it like a pro. By the end of this article, you’ll be hacking away at your Pi’s terminal from the comfort of your couch—or even from a different continent!
Read also:Somali Wasmo 2025 Telegram Your Ultimate Guide To Understanding The Movement And Its Impact
Why Remote SSH Into Raspberry Pi Is a Game Changer
Alright, let’s get real here. The Raspberry Pi is more than just a tiny computer; it’s a gateway to endless possibilities. From setting up home automation systems to creating media servers or even running your own web server, the Pi can handle it all. But what happens when you need to tweak settings or troubleshoot issues while you’re miles away from your setup?
Enter SSH. This protocol allows you to securely connect to your Raspberry Pi remotely, giving you full control over its command-line interface. No more rushing home to fix a tiny config file or checking if a service is running properly. With SSH, you can do it all from your laptop, smartphone, or even a tablet. Plus, it’s free, easy to set up, and super secure if done right.
Benefits of Using SSH for Your Raspberry Pi
- Convenience: Access your Pi anytime, anywhere without being physically present.
- Security: SSH uses encryption to protect your data during transmission, keeping prying eyes at bay.
- Cost-Effective: No need for expensive hardware or software solutions—SSH is built right into most operating systems.
- Flexibility: Manage multiple Pis simultaneously, perfect for those building large-scale projects or networks.
And the best part? Once you’ve got SSH set up, you’ll wonder how you ever managed without it. Trust me, it’s one of those tools that makes life so much easier once you know how to use it.
Setting Up SSH on Your Raspberry Pi
Now that we’ve covered the why, let’s talk about the how. Setting up SSH on your Raspberry Pi is surprisingly straightforward, thanks to the fantastic work of the Raspberry Pi Foundation. Follow these simple steps, and you’ll be up and running in no time.
Step 1: Enable SSH on Your Raspberry Pi
First things first, you need to enable SSH on your Pi. Here’s how:
- Boot up your Raspberry Pi and log in to the desktop environment.
- Head over to the main menu, then navigate to Preferences > Raspberry Pi Configuration.
- Go to the Interfaces tab and select Enabled next to SSH.
- Click OK, and you’re done!
If you’re using a headless setup (no monitor or keyboard), simply create a file named ssh (without any extension) in the boot partition of your SD card before powering on your Pi. This will automatically enable SSH during the first boot.
Read also:Unlocking The Power Of Remote Iot Device Solution Free Your Ultimate Guide
Step 2: Find Your Pi’s IP Address
Knowing your Pi’s IP address is crucial for establishing a connection. You can find it by running the following command in the terminal:
hostname -I
This will display your Pi’s local IP address, which typically looks something like 192.168.x.x. Keep this handy, as you’ll need it in the next step.
Connecting to Your Raspberry Pi via SSH
With SSH enabled and your Pi’s IP address in hand, it’s time to connect remotely. Depending on your operating system, the process varies slightly, but the core concept remains the same.
Connecting from a Linux or macOS Machine
Both Linux and macOS come with SSH pre-installed, making the process a breeze. Open your terminal and type the following command:
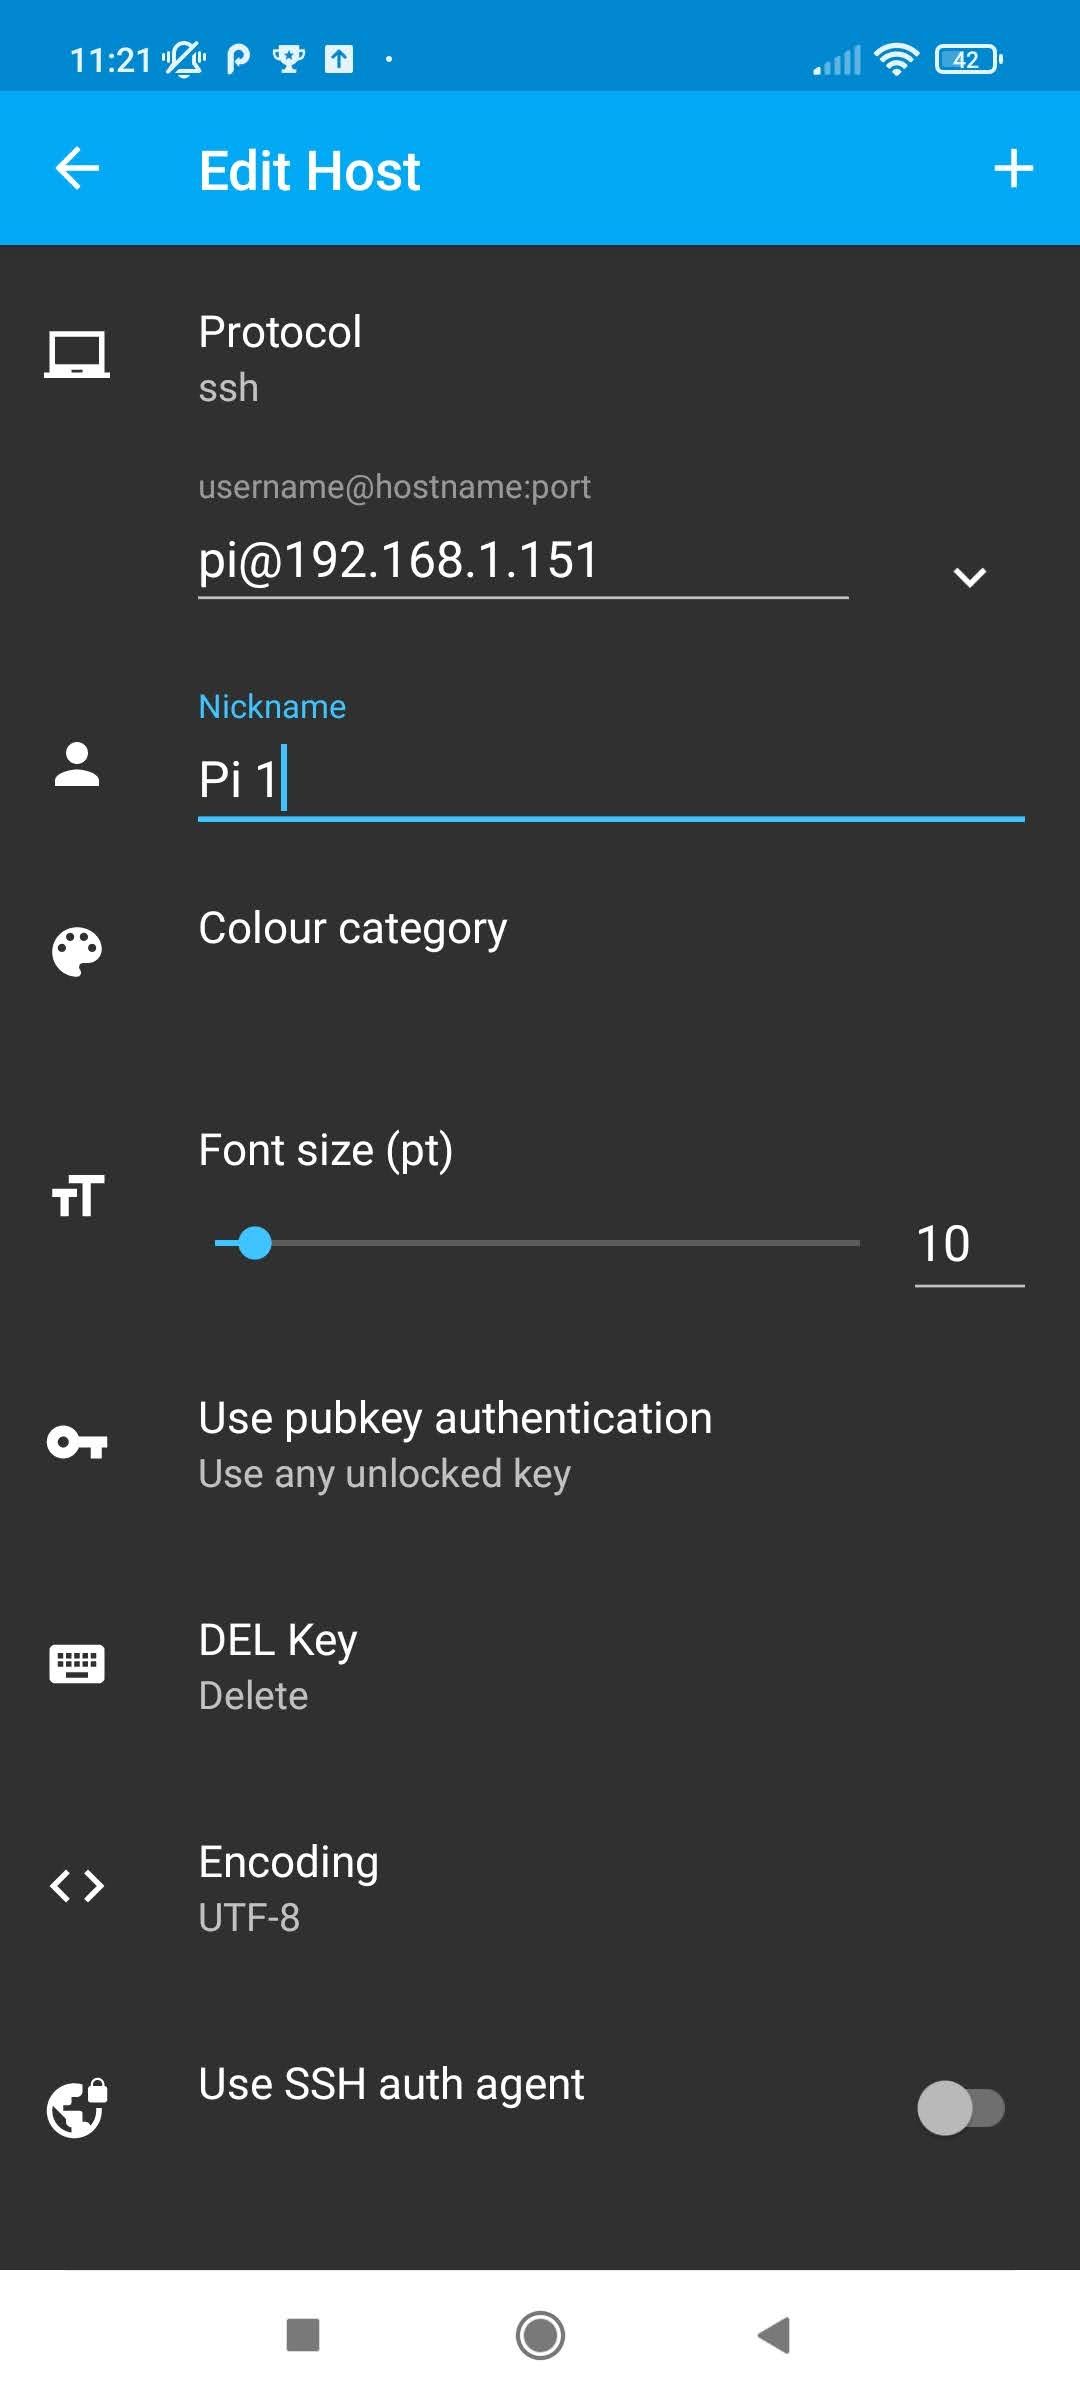
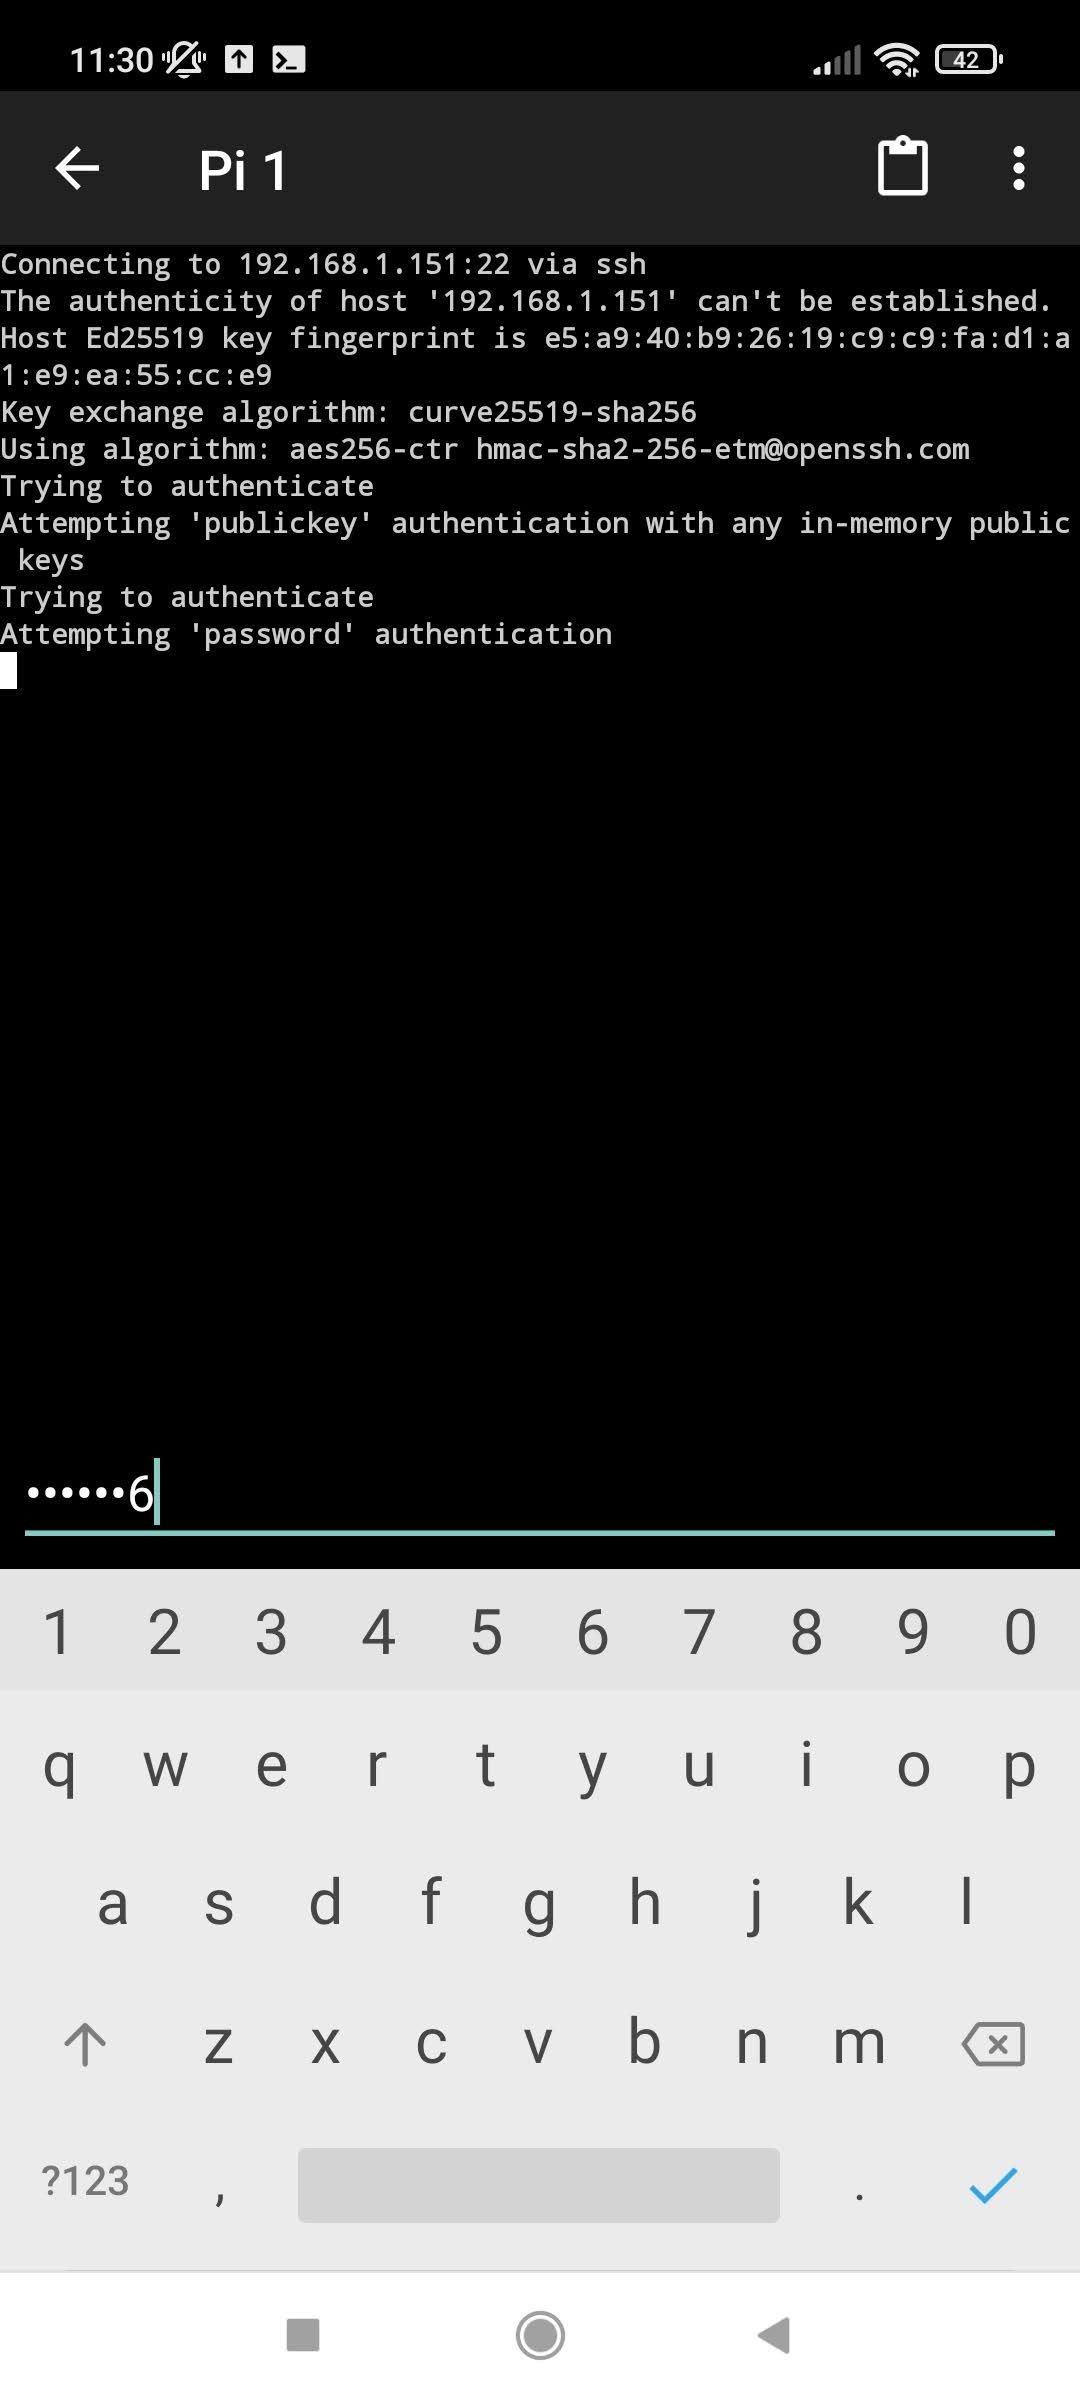
ssh pi@YOUR_PI_IP_ADDRESS
Replace YOUR_PI_IP_ADDRESS with the actual IP address of your Pi. When prompted, enter the default password for the pi user, which is usually raspberry. You’ll then be greeted with your Pi’s command-line interface, ready for action!
Connecting from a Windows Machine
Windows users have a couple of options. If you’re running Windows 10 or later, you can use the built-in SSH client by opening PowerShell or Command Prompt and entering the same command as above. Alternatively, you can download PuTTY, a popular SSH client for Windows, and connect using its graphical interface.
Securing Your SSH Connection
While SSH is inherently secure, there are a few extra steps you can take to make it even more robust. After all, security is key, especially if your Pi is exposed to the internet.
Change the Default Password
The default password for the pi user is well-known, so it’s essential to change it immediately. Use the following command to set a new, strong password:
sudo passwd pi
Make sure to choose something complex and unique to avoid unauthorized access.
Disable Root Login
Root login via SSH can pose a security risk, so it’s best to disable it unless absolutely necessary. To do this, edit the SSH configuration file:
sudo nano /etc/ssh/sshd_config
Look for the line PermitRootLogin and set it to no. Save the file and restart the SSH service:
sudo systemctl restart ssh
Advanced SSH Features for Raspberry Pi
Once you’ve got the basics down, it’s time to explore some of the advanced features SSH has to offer. These can significantly enhance your workflow and make managing your Pi a breeze.
SSH Tunnels for Secure Data Transfer
SSH tunnels allow you to securely transfer data between your local machine and your Pi. This is particularly useful when working with sensitive information or running applications that require a secure connection.
Automating SSH Connections
Tired of typing in your IP address and password every time you want to connect? You can automate the process by setting up SSH keys. This eliminates the need for passwords and makes logging in seamless.
Troubleshooting Common SSH Issues
Even the best-laid plans can go awry sometimes. If you’re having trouble connecting to your Pi via SSH, here are a few common issues and how to fix them:
- Connection Refused: Double-check your Pi’s IP address and ensure SSH is enabled.
- Timeout Errors: Ensure your network is stable and your router’s firewall isn’t blocking SSH traffic.
- Authentication Failed: Verify your username and password are correct. If using SSH keys, ensure they’re properly configured.
Real-World Applications of Remote SSH
Now that you’ve mastered the art of remote SSH into Raspberry Pi, let’s talk about some real-world applications where this skill can come in handy:
Home Automation
Use SSH to manage and monitor your smart home devices from anywhere. Whether it’s adjusting thermostat settings or checking security camera feeds, SSH gives you total control.
Remote Development
Developers can use SSH to access their development environments on a remote Pi, allowing them to code and test applications without being tied to a single machine.
Data Backup and Recovery
Set up automated scripts to back up important data on your Pi and retrieve it remotely when needed, ensuring your files are always safe and accessible.
Conclusion: Take Your Raspberry Pi Skills to the Next Level
And there you have it—a comprehensive guide to remote SSH into Raspberry Pi. From enabling SSH and connecting remotely to securing your setup and exploring advanced features, you now have all the tools you need to become a true Pi wizard. So, what are you waiting for? Dive in, experiment, and see just how far you can push the limits of your Raspberry Pi.
Don’t forget to share your experiences in the comments below or hit me up on social media. And if you found this article helpful, consider checking out some of my other guides to keep leveling up your tech skills. Until next time, happy hacking!
Table of Contents
- Why Remote SSH Into Raspberry Pi Is a Game Changer
- Setting Up SSH on Your Raspberry Pi
- Connecting to Your Raspberry Pi via SSH
- Securing Your SSH Connection
- Advanced SSH Features for Raspberry Pi
- Troubleshooting Common SSH Issues
- Real-World Applications of Remote SSH
- Conclusion


