Mastering Raspberry Remote Connection: A Beginner's Guide To Seamless Setup
Are you ready to dive into the world of Raspberry Pi and explore the magic of remote connections? If you're here, it means you're probably curious about how to remotely access your Raspberry Pi from anywhere in the world. Well, buckle up, because we're about to take you through an exciting journey filled with tips, tricks, and everything you need to know about raspberry remote connection!
Let’s be real—Raspberry Pi is like that one gadget every tech enthusiast dreams of owning. It’s versatile, affordable, and packed with potential. But what if we told you that you could control this tiny powerhouse from miles away? Sounds cool, right? With raspberry remote connection, you can turn your Raspberry Pi into a remote server, media center, or even a home automation hub without needing to be physically present.
In this guide, we’ll break down the entire process step by step, ensuring even beginners can follow along. Whether you're setting up a remote desktop or configuring SSH, we’ve got your back. So grab a cup of coffee (or your favorite energy drink), and let’s get started!
Read also:Is Eilish Holton Still Alive In 2023 The Truth Behind The Mystery
Here’s what we’ll cover in this guide:
- Introduction to Raspberry Remote Connection
- Understanding Raspberry Pi Basics
- Why Use Raspberry Remote Connection?
- Setting Up Your Raspberry Pi for Remote Access
- Using SSH for Raspberry Remote Connection
- Connecting via VNC for a Graphical Interface
- Setting Up a Remote Desktop Environment
- Security Best Practices for Remote Connections
- Troubleshooting Common Issues
- Wrapping It Up
Introduction to Raspberry Remote Connection
Alright, let’s start with the basics. What exactly is raspberry remote connection? Simply put, it’s the ability to control your Raspberry Pi from another device, no matter where you are. This opens up a world of possibilities, whether you’re managing a home server, controlling IoT devices, or just tinkering around with some code.
Remote connections are super handy when you don’t have direct access to your Raspberry Pi. Imagine being able to reboot your media server from your phone or troubleshoot a project from your office. Sounds pretty convenient, huh? With the right setup, you can achieve all this and more.
Understanding Raspberry Pi Basics
Raspberry Pi: The Tiny Computer That Could
Before we dive into remote connections, let’s quickly go over what Raspberry Pi is. It’s essentially a small, single-board computer that’s perfect for hobbyists, educators, and developers. Despite its size, it packs a punch with features like GPIO pins, HDMI output, and USB ports.
There are several models of Raspberry Pi, each with its own set of capabilities. The most popular ones include the Raspberry Pi 4, Raspberry Pi 3, and the smaller Raspberry Pi Zero. No matter which model you choose, they all support remote connections in one way or another.
Why Use Raspberry Remote Connection?
Now that we know what Raspberry Pi is, let’s talk about why you’d want to set up a remote connection. Here are a few reasons:
Read also:Remoteiot Behind Router Unlocking The Future Of Smart Connectivity
- Convenience: Access your Raspberry Pi from anywhere without needing to be physically present.
- Efficiency: Streamline your workflow by managing multiple projects from a single device.
- Automation: Control smart home devices or run scripts remotely.
- Collaboration: Share access with friends or colleagues for collaborative projects.
These are just a few examples, but the possibilities are endless. Whether you’re a seasoned pro or a complete beginner, raspberry remote connection can enhance your experience with Raspberry Pi.
Setting Up Your Raspberry Pi for Remote Access
What You’ll Need
Before we start setting up, make sure you have the following:
- A Raspberry Pi (any model will do).
- A microSD card with Raspberry Pi OS installed.
- An internet connection (wired or wireless).
- A computer or smartphone to connect from.
Once you have everything ready, it’s time to configure your Raspberry Pi for remote access. The first step is to enable SSH and VNC in the Raspberry Pi settings. Don’t worry—we’ll walk you through each step in the next sections.
Using SSH for Raspberry Remote Connection
What Is SSH?
SSH, or Secure Shell, is a protocol that allows you to securely connect to your Raspberry Pi from another device. It’s perfect for command-line tasks and is one of the most popular methods for raspberry remote connection.
Here’s how you can set it up:
- Boot up your Raspberry Pi and log in.
- Open the terminal and type
sudo raspi-config. - Navigate to "Interfacing Options" and select "SSH."
- Follow the prompts to enable SSH.
- Reboot your Raspberry Pi to apply the changes.
Now that SSH is enabled, you can connect to your Raspberry Pi using an SSH client like PuTTY (for Windows) or the built-in terminal on macOS and Linux.
Connecting via VNC for a Graphical Interface
Why Choose VNC?
While SSH is great for command-line tasks, sometimes you need a graphical interface. That’s where VNC comes in. VNC allows you to remotely control your Raspberry Pi as if you were sitting right in front of it.
To set up VNC, follow these steps:
- Open the Raspberry Pi Configuration tool (
sudo raspi-config). - Go to "Interfacing Options" and enable VNC.
- Download and install the VNC Viewer app on your computer or smartphone.
- Enter your Raspberry Pi’s IP address in the VNC Viewer and connect.
Voilà! You should now have a fully functional remote desktop connection to your Raspberry Pi.
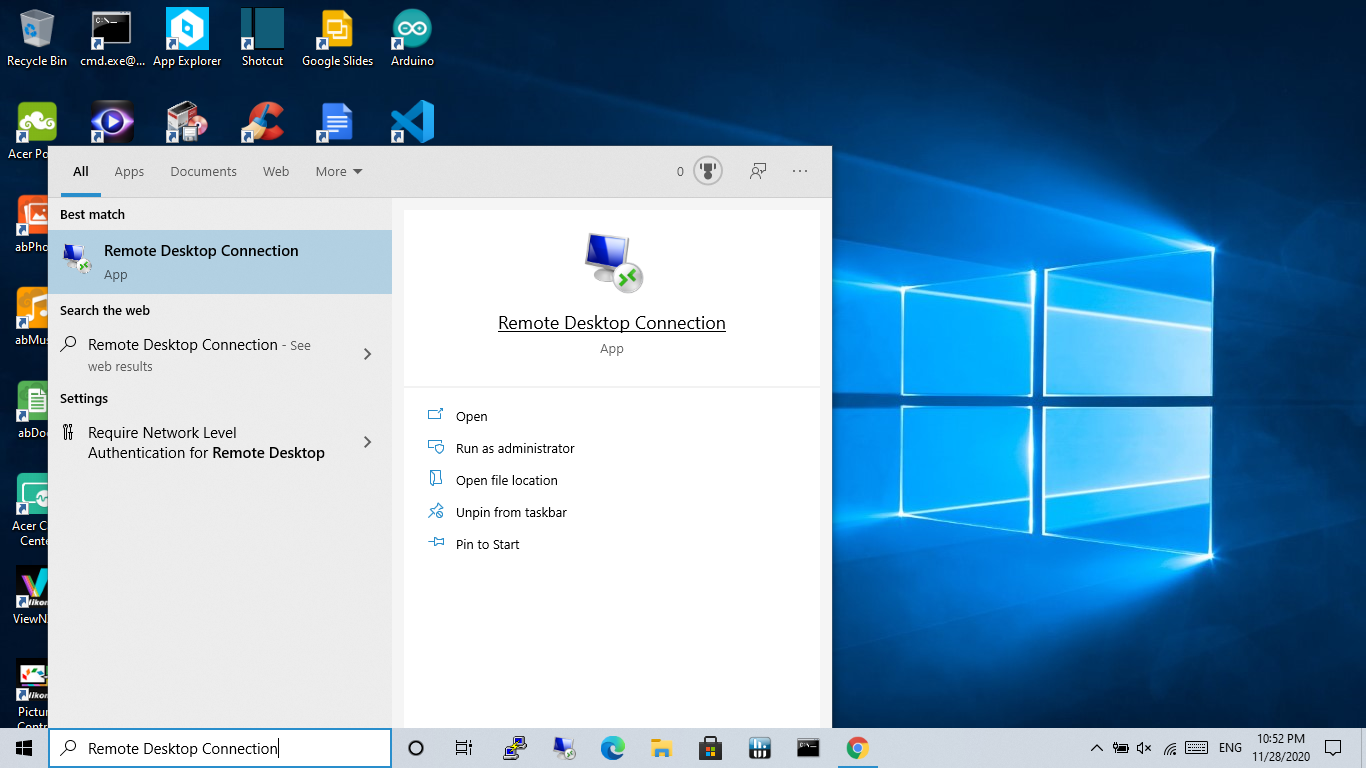
Setting Up a Remote Desktop Environment
Going Beyond VNC
If you’re looking for an even more robust remote desktop solution, consider setting up a full-fledged remote desktop environment on your Raspberry Pi. This is especially useful if you’re running resource-intensive applications.
Here’s how you can do it:
- Install a lightweight desktop environment like LXDE or XFCE.
- Set up a remote desktop server like xrdp.
- Configure your firewall to allow remote desktop connections.
- Test the connection using a remote desktop client on your computer.
With this setup, you’ll have a seamless remote desktop experience that rivals any dedicated server.
Security Best Practices for Remote Connections
Protecting Your Raspberry Pi
While remote connections are incredibly useful, they also come with security risks. Here are a few tips to keep your Raspberry Pi safe:
- Use Strong Passwords: Avoid using default credentials like "pi" and "raspberry." Create unique, complex passwords instead.
- Enable Two-Factor Authentication: Add an extra layer of security by requiring a second form of verification.
- Keep Software Updated: Regularly update your Raspberry Pi OS and installed packages to patch vulnerabilities.
- Limit Access: Restrict remote access to trusted IP addresses whenever possible.
By following these best practices, you can enjoy the benefits of raspberry remote connection without compromising your security.
Troubleshooting Common Issues
Fixing Connection Problems
Even with the best setup, things can sometimes go wrong. Here are a few common issues and how to fix them:
- Unable to Connect via SSH: Double-check your Raspberry Pi’s IP address and ensure SSH is enabled.
- VNC Connection Fails: Make sure the VNC service is running and that your firewall allows incoming connections.
- Slow Performance: Optimize your Raspberry Pi’s settings and ensure a stable internet connection.
If you’re still stuck, consult the official Raspberry Pi documentation or reach out to the community for help.
Wrapping It Up
And there you have it—a comprehensive guide to mastering raspberry remote connection. From setting up SSH and VNC to securing your Raspberry Pi, we’ve covered everything you need to know to get started. Whether you’re a hobbyist or a professional, remote connections can take your Raspberry Pi projects to the next level.
So what are you waiting for? Grab your Raspberry Pi, follow the steps in this guide, and start exploring the possibilities of remote access. And don’t forget to share your experiences in the comments below or check out our other articles for more tips and tricks.
Happy tinkering, and see you in the next one!
