Remote Connect Raspberry Pi Behind Firewall Without MAC Address For Free: The Ultimate Guide
Connecting to your Raspberry Pi remotely when it's behind a firewall sounds like a tech puzzle, but don't sweat it! In today’s digital world, remote access is a must-have skill for any tech enthusiast or professional. Whether you're tinkering with IoT projects or running a home server, knowing how to remotely connect to your Raspberry Pi without using its MAC address—and doing it for free—can save you a ton of time and effort. Let's dive into the nitty-gritty!
Remote connectivity is no longer just for the pros. With the right tools and a bit of know-how, anyone can set up a secure connection to their Raspberry Pi from anywhere in the world. In this guide, we’ll walk you through every step, ensuring you don’t get lost in technical jargon. We’ll cover everything from setting up port forwarding to using free services that make remote access a breeze.
By the time you finish reading, you'll have everything you need to connect to your Raspberry Pi behind a firewall without relying on its MAC address. No expensive software or complex configurations—just simple, effective solutions that work like a charm. Ready to level up your tech game? Let’s go!
Read also:Unlock The Power Of Remoteiot Vpc Download Aws For Your Business
Table of Contents
- Overview of Remote Connect Raspberry Pi
- Why Firewalls Make Remote Access Tricky
- Tools You’ll Need to Get Started
- Setting Up Port Forwarding
- Using Dynamic DNS for Free
- Creating an SSH Tunnel
- Exploring Cloud-Based Solutions
- Security Tips for Remote Connections
- Troubleshooting Common Issues
- Conclusion and Next Steps
Overview of Remote Connect Raspberry Pi
Alright, let's start with the basics. Your Raspberry Pi is a tiny but powerful device that can run a variety of applications. But what if you want to access it from another location? That's where remote connectivity comes in. The challenge arises when your Raspberry Pi is behind a firewall, which is basically a digital gatekeeper that blocks unauthorized access.
Now, some people might tell you that you need to use the MAC address to identify your device. But guess what? You don’t! There are plenty of other ways to connect remotely without diving into MAC addresses. This method not only simplifies the process but also keeps things secure.
Here’s the cool part: you can do all this for free. No need to shell out cash for premium services or fancy hardware. Just follow along, and you’ll be up and running in no time.
Why Firewalls Make Remote Access Tricky
Firewalls are like bouncers at a club—they decide who gets in and who doesn’t. When your Raspberry Pi is behind a firewall, it’s like trying to get into an exclusive party where the bouncer doesn’t know you exist. That’s why remote access becomes a bit tricky.
Firewalls block incoming connections by default, which means your Raspberry Pi won’t respond to external requests unless you explicitly allow it. This is great for security, but not so great when you want to access your device remotely.
But don’t worry—there are ways to bypass this limitation without compromising your security. We’ll show you how to configure your router and use free tools to make your Raspberry Pi accessible from anywhere.
Read also:Emma Aturnin The Rising Star Whos Lighting Up The World
Understanding Firewall Rules
Firewall rules are essentially instructions that tell your router what kind of traffic to allow or block. For example, you can create a rule that allows SSH traffic on port 22, which is the default port used for secure shell connections.
Here’s a quick list of common ports you might need:
- Port 22 for SSH
- Port 80 for HTTP
- Port 443 for HTTPS
These ports are like doors that let specific types of traffic in. By opening the right doors, you can ensure smooth communication between your Raspberry Pi and the outside world.
Tools You’ll Need to Get Started
Before we dive into the technical stuff, let’s talk about the tools you’ll need. Don’t worry—you probably already have most of them:
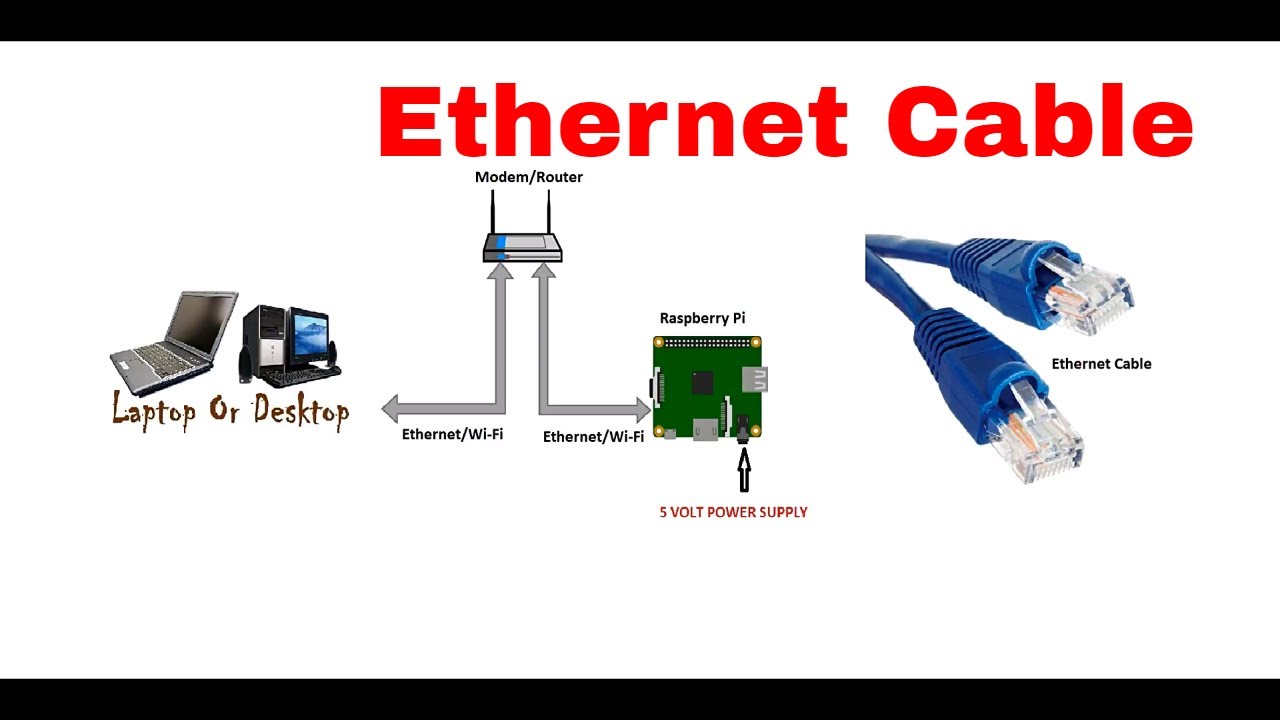
- Raspberry Pi (duh!)
- A router with port forwarding capabilities
- An internet connection (obviously)
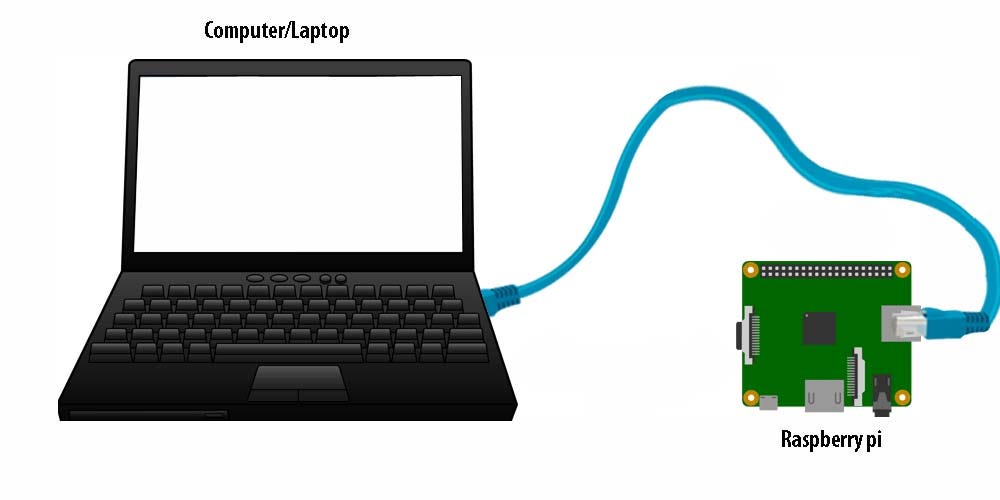
- A computer or smartphone to access your Raspberry Pi remotely
- A free Dynamic DNS service (we’ll cover this later)
That’s it! No fancy gadgets or expensive software required. Just your trusty Raspberry Pi and a bit of tech know-how.
Optional Tools
If you want to take things to the next level, you might consider using:
- A static IP address (if your ISP offers it)
- Third-party apps like ngrok or Serveo for easier setup
- Encryption tools to boost security
These tools aren’t necessary, but they can make the process smoother and more secure.
Setting Up Port Forwarding
Port forwarding is like giving your Raspberry Pi a VIP pass to bypass the firewall. It allows specific types of traffic to reach your device without being blocked by the router.
Here’s how to set it up:
- Log in to your router’s admin panel (usually by typing 192.168.0.1 or 192.168.1.1 in your browser).
- Find the port forwarding section (it might be under advanced settings).
- Create a new rule for the desired port (e.g., port 22 for SSH).
- Set the internal IP address to your Raspberry Pi’s local IP (e.g., 192.168.1.10).
- Save the changes and restart your router.
Voilà! Your Raspberry Pi is now accessible from outside your local network.
Tips for Port Forwarding
Here are a few tips to make port forwarding easier:
- Use a static IP address for your Raspberry Pi to avoid IP conflicts.
- Test the connection with a tool like CanYouSeeMe.org to ensure the port is open.
- Limit access to specific IP ranges for added security.
With these tips, you’ll be a port forwarding pro in no time!
Using Dynamic DNS for Free
Dynamic DNS (DDNS) is a lifesaver when it comes to remote access. It assigns a domain name to your Raspberry Pi’s IP address, so you don’t have to remember a bunch of numbers. Plus, if your IP address changes (which it often does), DDNS will automatically update the domain name to point to the new IP.
Here’s how to set it up:
- Sign up for a free DDNS service like No-IP or DuckDNS.
- Create a hostname for your Raspberry Pi (e.g., mypi.no-ip.org).
- Install the DDNS client on your Raspberry Pi to keep the hostname updated.
- Test the connection by pinging your hostname from another device.
Now you can access your Raspberry Pi using a friendly domain name instead of a cryptic IP address. How cool is that?
Benefits of DDNS
Here are some benefits of using DDNS:
- Easy-to-remember domain names
- Automatic IP updates
- Free services available
DDNS makes remote access a breeze, especially when your IP address changes frequently.
Creating an SSH Tunnel
SSH tunnels are like secret passages that let you securely access your Raspberry Pi from anywhere. They encrypt your data and ensure that no one can eavesdrop on your connection.
Here’s how to create an SSH tunnel:
- Install an SSH client on your computer (e.g., PuTTY for Windows or Terminal for macOS/Linux).
- Connect to your Raspberry Pi using the DDNS hostname and port 22.
- Enter your Raspberry Pi’s username and password when prompted.
- Start exploring your device as if you were sitting right in front of it!
SSH tunnels are secure, reliable, and easy to set up. Plus, they work great with Raspberry Pi’s default SSH server.
Advanced SSH Features
Here are a few advanced SSH features you might find useful:
- Key-based authentication for added security
- Port forwarding for accessing local services
- Tunneling for encrypted web browsing
With these features, you can do way more than just remote access. You can turn your Raspberry Pi into a secure gateway for all your online activities.
Exploring Cloud-Based Solutions
If you’re not into setting up port forwarding and DDNS, there are cloud-based solutions that can simplify the process. Services like ngrok and Serveo let you create temporary URLs that point to your Raspberry Pi, making remote access a snap.
Here’s how to use ngrok:
- Download and install ngrok on your Raspberry Pi.
- Run the ngrok command with the desired port (e.g., ngrok tcp 22).
- Use the generated URL to connect to your Raspberry Pi from anywhere.
Cloud-based solutions are great for quick setups, but they might not be as secure as traditional methods. Always weigh the pros and cons before choosing a solution.
Security Considerations
Here are some security considerations when using cloud-based solutions:
- Use strong passwords and enable two-factor authentication.
- Limit access to trusted devices and networks.
- Regularly update your software and firmware.
By following these guidelines, you can enjoy the convenience of cloud-based solutions without compromising your security.
Security Tips for Remote Connections
Security should always be a top priority when setting up remote access. Here are a few tips to keep your Raspberry Pi safe:
- Use strong, unique passwords for your Raspberry Pi and router.
- Enable encryption for all connections (e.g., SSH, HTTPS).
- Regularly update your software and firmware to patch vulnerabilities.
- Monitor your logs for suspicious activity.
By following these tips, you can ensure that your Raspberry Pi remains secure even when accessed remotely.
Troubleshooting Common Issues
Even with the best-laid plans, things can go wrong. Here are some common issues and how to fix them:
- Connection refused: Double-check your port forwarding settings and ensure the port is open.
- Invalid hostname: Verify your DDNS settings and ensure the hostname is correctly configured.
- Authentication failed: Check your username and password, and consider using key-based authentication.
If all else fails, consult the documentation for your router, Raspberry Pi, or DDNS service. Chances are, someone else has already solved the problem you’re facing.
Conclusion and Next Steps
There you have it—everything you need to remotely connect to your Raspberry Pi behind a firewall without using its MAC address. By following the steps outlined in this guide, you can set up a secure and reliable remote connection that works from anywhere in the world.
Remember to prioritize security and regularly update your setup to stay ahead of potential threats. And don’t forget to share this guide with your tech-savvy friends—they’ll appreciate the tips!
Now it’s your turn. Take action by setting up remote access for your Raspberry Pi today. Whether you’re tinkering with IoT projects or running a home server, this skill will open up a world of possibilities. Happy tinkering!


