RemoteIoT Behind Router Raspberry Pi: A Beginner's Guide To Secure Smart Home Integration
Imagine this: you're miles away from home, sipping coffee on a sunny afternoon, and suddenly you remember you left the lights on. What if you could control those lights without being physically present? Thanks to remote IoT behind router Raspberry Pi setups, that dream is now a reality. This technology allows you to manage your smart devices from anywhere, giving you peace of mind and control over your environment. Let's dive into how this works and why it's worth exploring.
Remote IoT behind router Raspberry Pi has become a buzzword in tech circles, and for good reason. It’s not just about convenience—it’s about security, efficiency, and the ability to automate your life. With the right setup, you can monitor and control everything from your thermostat to your security cameras, all from your smartphone or computer.
But let’s be real—setting up a remote IoT system isn’t always a walk in the park. There’s a lot to consider, from network security to device compatibility. That’s why we’ve put together this comprehensive guide to help you navigate the process. Whether you’re a tech enthusiast or just someone looking to upgrade their home, this article will give you the tools you need to succeed.
Read also:Jesse Watters Does He Have A Family Unveiling The Truth Behind The Spotlight
What is RemoteIoT Behind Router Raspberry Pi?
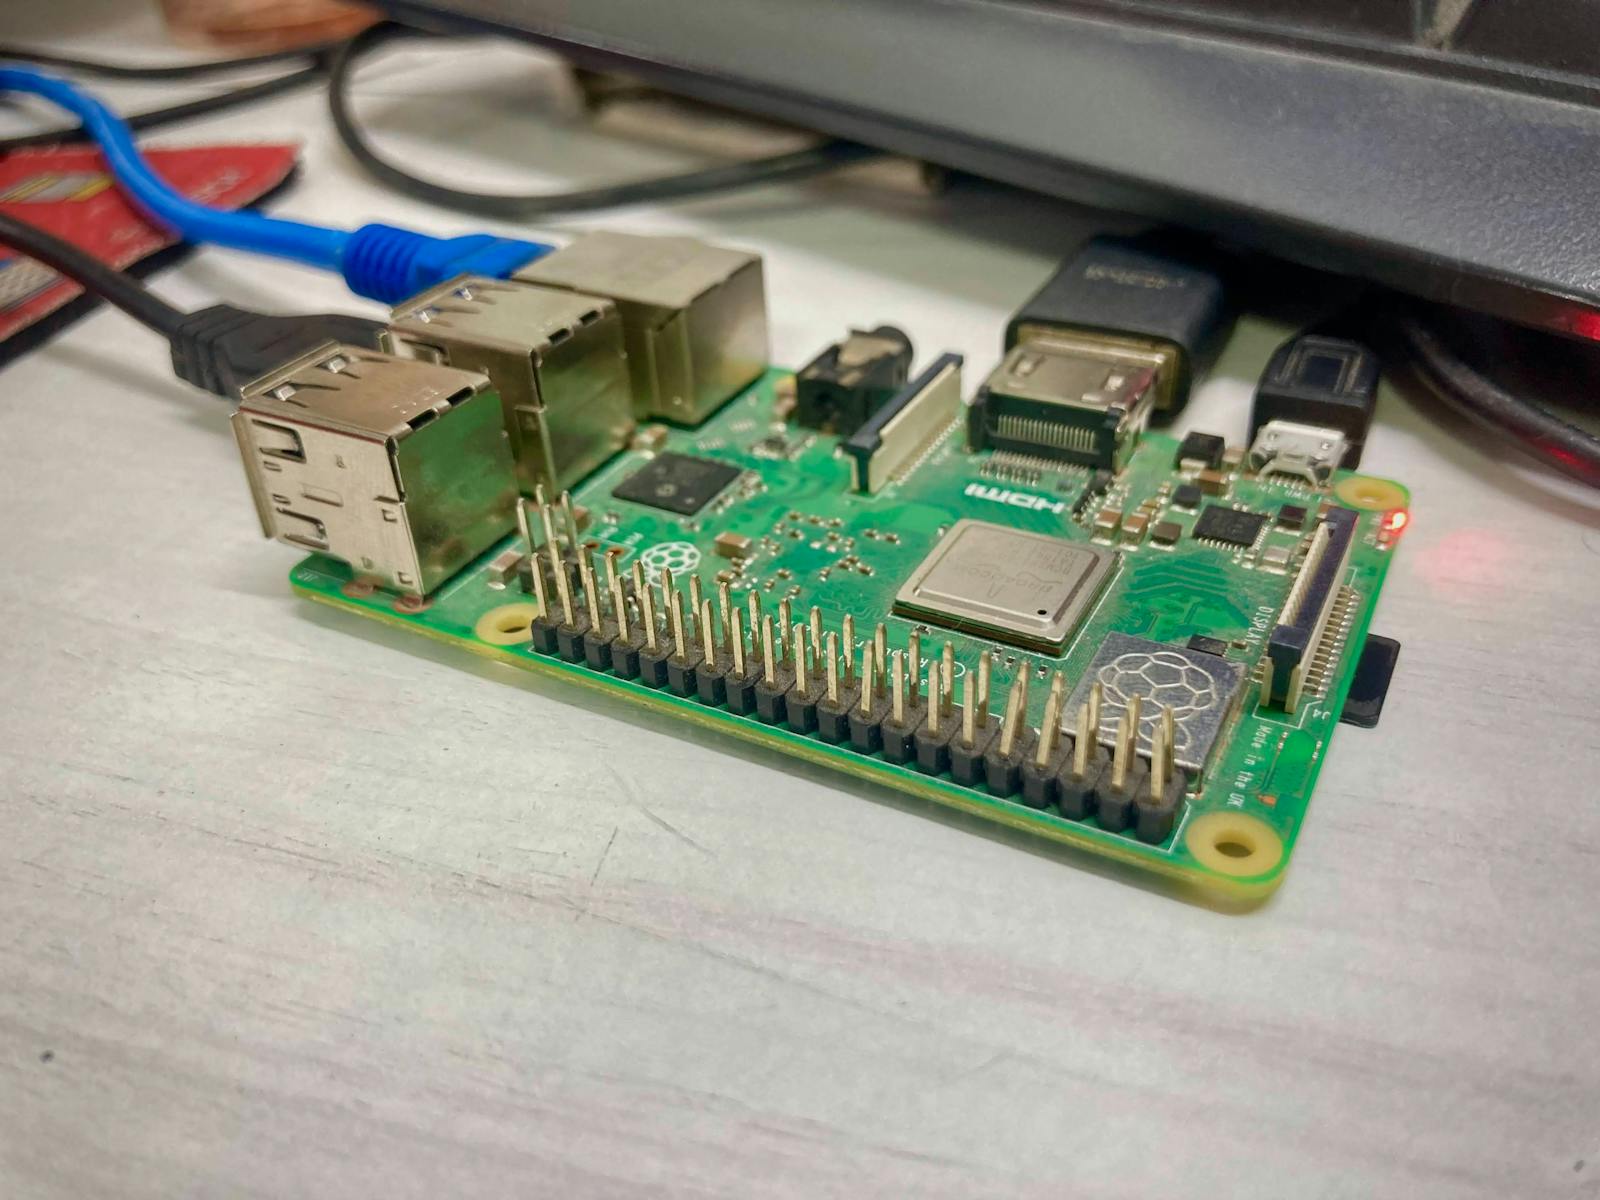
Let’s break it down. RemoteIoT refers to the ability to access and control Internet of Things (IoT) devices from a remote location. When we talk about doing this "behind a router," we mean setting up your Raspberry Pi as the gateway that connects your IoT devices to the internet. The Raspberry Pi acts as the brain of your smart home system, allowing you to manage everything from one central location.
How Does It Work?
Here’s the basic idea: your Raspberry Pi connects to your home network via Wi-Fi or Ethernet. Once connected, it can communicate with other IoT devices on your network. By configuring your router and setting up port forwarding, you can access your Raspberry Pi—and, by extension, your IoT devices—from anywhere in the world.
This setup is especially useful for people who want to monitor their homes remotely. For example, you could use a Raspberry Pi to stream live video from security cameras or adjust the temperature of your smart thermostat while you're out of town.
Why Use Raspberry Pi for RemoteIoT?
Raspberry Pi is a small, affordable computer that packs a big punch. It’s perfect for DIY projects like remote IoT setups because it’s versatile, easy to program, and has a massive community of developers who can help you troubleshoot issues. Plus, it’s compatible with a wide range of IoT devices, making it a great choice for beginners and experts alike.
- Cost-effective: Raspberry Pi boards are relatively inexpensive compared to other computing options.
- Flexible: You can use it for a variety of projects, from home automation to weather monitoring.
- Community Support: There’s a huge community of Raspberry Pi enthusiasts who share tips, tutorials, and code snippets.
Benefits of Using Raspberry Pi for RemoteIoT
One of the biggest advantages of using Raspberry Pi for remote IoT is its ability to act as a local server. This means your data stays within your home network, reducing the risk of cyberattacks. Additionally, Raspberry Pi can handle multiple tasks simultaneously, making it ideal for managing complex IoT ecosystems.
Setting Up Your Raspberry Pi for RemoteIoT
Now that you know why Raspberry Pi is a great choice for remote IoT, let’s talk about how to set it up. The process involves a few key steps:
Read also:Best Remote Iot Devices Unlocking The Power Of Connectivity
Step 1: Gather Your Materials
Before you start, make sure you have the following:
- Raspberry Pi board (any model will work, but newer models are faster)
- MicroSD card with Raspberry Pi OS installed
- Power supply for your Raspberry Pi
- Ethernet cable (optional, but recommended for stability)
- IoT devices you want to connect
Step 2: Configure Your Raspberry Pi
Once you have everything you need, it’s time to configure your Raspberry Pi. Start by connecting it to your home network. You can do this via Wi-Fi or Ethernet. Then, log in to your Raspberry Pi using SSH or VNC and update the operating system.
sudo apt update && sudo apt upgrade
Step 3: Set Up Port Forwarding
Port forwarding is essential for accessing your Raspberry Pi remotely. To set it up, log in to your router’s admin interface and create a rule that forwards incoming traffic on a specific port to your Raspberry Pi’s local IP address.
For example, if your Raspberry Pi’s IP address is 192.168.1.100, you might forward port 8080 to that address. This allows you to access your Raspberry Pi from outside your home network by typing your public IP address followed by the port number into a web browser.
Securing Your RemoteIoT Setup
Security is a top priority when setting up a remote IoT system. After all, you’re essentially giving yourself—and potentially others—access to your home network. Here are a few tips to keep your setup secure:
- Use strong passwords for your Raspberry Pi and router.
- Enable two-factor authentication (2FA) wherever possible.
- Regularly update your software and firmware to patch vulnerabilities.
- Consider using a virtual private network (VPN) to encrypt your traffic.
Best Practices for Securing Your Raspberry Pi
In addition to the tips above, there are a few best practices you should follow when securing your Raspberry Pi:
- Disable SSH access for the default "pi" user.
- Use a firewall to block unwanted traffic.
- Monitor your logs for suspicious activity.
Connecting IoT Devices to Your Raspberry Pi
Once your Raspberry Pi is set up and secure, it’s time to connect your IoT devices. This process will vary depending on the devices you’re using, but most modern IoT devices come with apps or web interfaces that make the process easy.
Popular IoT Devices Compatible with Raspberry Pi
Here are a few popular IoT devices that work well with Raspberry Pi:
- Smart lights (e.g., Philips Hue, LIFX)
- Smart thermostats (e.g., Nest, Ecobee)
- Security cameras (e.g., Ring, Arlo)
- Smart locks (e.g., August, Yale)
Troubleshooting Common Issues
Even with the best planning, things can go wrong. Here are some common issues you might encounter when setting up a remote IoT system with Raspberry Pi, along with solutions:
Issue 1: Unable to Connect to Raspberry Pi Remotely
If you can’t connect to your Raspberry Pi from outside your home network, double-check your port forwarding settings. Make sure the port you’re using is open and not blocked by your ISP.
Issue 2: Slow Performance
If your Raspberry Pi is running slowly, try closing unnecessary programs or upgrading to a more powerful model. You can also optimize your code to reduce resource usage.
Conclusion
RemoteIoT behind router Raspberry Pi is a powerful tool that can transform the way you interact with your smart home. By following the steps outlined in this guide, you can set up a secure and efficient system that gives you control over your devices from anywhere in the world.
So what are you waiting for? Grab your Raspberry Pi, gather your IoT devices, and start building your smart home today. And don’t forget to share your experience with us in the comments below. Who knows—your story might inspire others to take the leap into the world of remote IoT!
Table of Contents
- What is RemoteIoT Behind Router Raspberry Pi?
- How Does It Work?
- Why Use Raspberry Pi for RemoteIoT?
- Benefits of Using Raspberry Pi for RemoteIoT
- Setting Up Your Raspberry Pi for RemoteIoT
- Securing Your RemoteIoT Setup
- Connecting IoT Devices to Your Raspberry Pi
- Popular IoT Devices Compatible with Raspberry Pi
- Troubleshooting Common Issues
- Conclusion


