Unlocking The Power Of RemoteIoT Web SSH Server On Windows 10
Hey there, tech enthusiasts! If you're diving into the world of remote access, securing your IoT devices, or simply wanting to level up your tech game, you've come to the right place. Today, we're breaking down everything you need to know about remoteIoT web SSH server on Windows 10. This is not just another tech guide; it's your ultimate companion to mastering remote access without breaking a sweat. So, grab your favorite beverage, and let’s get started.
RemoteIoT web SSH server for Windows 10 has been gaining traction lately, and for good reason. It’s like having a superpower that lets you access your computer from anywhere in the world, all while keeping your data secure. Whether you're a professional developer, a hobbyist, or someone who just wants to manage their home network remotely, this setup is a game-changer. But how does it work, and what do you need to know? That's exactly what we'll be exploring together.
Before we dive deep into the nitty-gritty, let’s set the stage. Remote access isn’t new, but combining it with IoT devices through an SSH server brings a whole new level of convenience and security. If you’ve ever wondered how to make your Windows 10 machine remotely accessible while ensuring it’s as secure as Fort Knox, you’re in the right place. Let’s roll!
Read also:Tgtx Stocktwits The Ultimate Guide To Tapping Into The Trading Community
What Exactly is RemoteIoT Web SSH Server?
Alright, let’s get down to business. RemoteIoT web SSH server is essentially a tool that allows you to connect to your Windows 10 machine from anywhere using a secure shell (SSH) protocol. Think of it as a virtual handshake that lets your computer talk to other devices over the internet, but with a super-strong lock to keep the bad guys out. SSH stands for Secure Shell, and it’s the go-to method for secure communication between devices.
Why is this important? Well, in today’s digital age, being able to access your files, run scripts, or manage IoT devices from afar is not just convenient—it’s essential. Whether you're troubleshooting a problem at work, checking on your home security system, or just grabbing that important document you forgot at home, SSH gives you the power to do it all securely.
And here’s the kicker: with remoteIoT web SSH server, you’re not just limited to computers. You can connect to a wide range of IoT devices, from smart thermostats to security cameras, all from the comfort of your couch—or even from the other side of the world. Now, that’s what I call tech wizardry!
Why Choose Windows 10 for Your SSH Server?
Now, you might be wondering, why Windows 10? Isn’t SSH more of a Linux thing? While it’s true that SSH has its roots in the Linux world, Windows 10 has stepped up its game in recent years. Starting with version 1809, Windows 10 comes with built-in SSH support, making it easier than ever to set up a secure server without needing third-party software. That’s right—no more downloading bulky programs or dealing with complicated configurations.
But wait, there’s more. Windows 10 offers a user-friendly interface that makes managing your SSH server a breeze. You don’t need to be a tech guru to get things up and running. Plus, with the power of PowerShell at your fingertips, you can automate tasks, manage users, and keep your system secure with just a few commands. It’s like having a personal assistant for your tech needs.
Oh, and let’s not forget about compatibility. Windows 10 works seamlessly with a wide range of devices and platforms, making it the perfect choice for anyone looking to integrate their SSH server with IoT devices. Whether you’re running a Raspberry Pi, a smart home hub, or even a cloud-based service, Windows 10 has got you covered.
Read also:Lester Holt Health A Comprehensive Dive Into The Wellness Of A Broadcast Icon
Setting Up Your RemoteIoT Web SSH Server on Windows 10
Alright, now that we’ve covered the basics, let’s get our hands dirty and set up your SSH server. Don’t worry—it’s easier than you think. Here’s a step-by-step guide to get you up and running in no time:
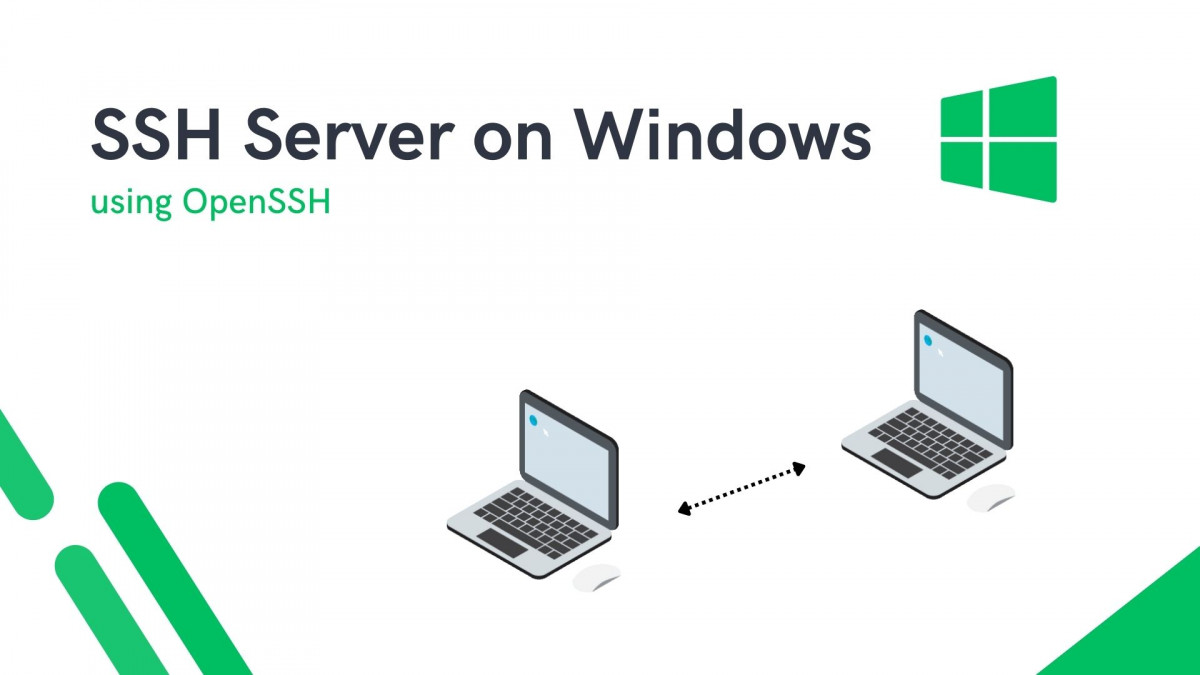
First things first, you’ll need to enable the OpenSSH server on your Windows 10 machine. Head over to Settings > Apps > Optional Features, and click on “Add a feature.” From there, search for “OpenSSH Server” and install it. Boom—step one complete!
Next, you’ll want to configure your firewall settings to allow SSH traffic. Open up Windows Defender Firewall, go to Advanced Settings, and create a new inbound rule. Choose “Port” as the rule type, and specify port 22 (the default SSH port). Make sure to allow the connection and apply the rule to all network profiles.
Finally, it’s time to test your setup. Open up PowerShell and type in “sshd –version” to make sure the SSH server is running. If everything looks good, you’re ready to connect from another device using an SSH client like PuTTY or even the built-in SSH command in Linux or macOS. Easy peasy, right?
Tips for a Smooth Setup
Here are a few tips to make your setup process even smoother:
- Use strong passwords or even better, set up SSH keys for authentication.
- Consider changing the default SSH port to something less obvious for added security.
- Regularly update your system and SSH server to patch any vulnerabilities.
By following these tips, you’ll ensure your SSH server is as secure and reliable as possible. Remember, security is key when it comes to remote access.
Securing Your RemoteIoT Web SSH Server
Now that your SSH server is up and running, it’s time to talk about security. Security should always be at the top of your priority list when setting up a remote access system. Here are some best practices to keep your server safe from prying eyes:
First and foremost, use strong, unique passwords for all your accounts. Better yet, set up SSH keys for authentication. This adds an extra layer of security and makes it much harder for hackers to gain access to your system. Plus, it’s more convenient since you won’t have to type in your password every time you connect.
Next, consider disabling password authentication altogether and relying solely on SSH keys. This might sound extreme, but it’s one of the most effective ways to secure your server. If someone manages to brute-force their way into your system, they won’t get far without the private key.
Finally, keep your system and SSH server up to date. Regular updates not only add new features but also patch any security vulnerabilities that might have been discovered. Think of it as giving your system a regular health checkup to make sure everything’s running smoothly.
Additional Security Measures
Here are a few more security measures you can take:
- Use a firewall to restrict access to your SSH server.
- Monitor your server logs for any suspicious activity.
- Consider using a fail2ban service to block repeated login attempts.
By implementing these measures, you’ll significantly reduce the risk of unauthorized access to your system. Security is a marathon, not a sprint, so stay vigilant and keep your system protected.
Connecting to Your RemoteIoT Web SSH Server
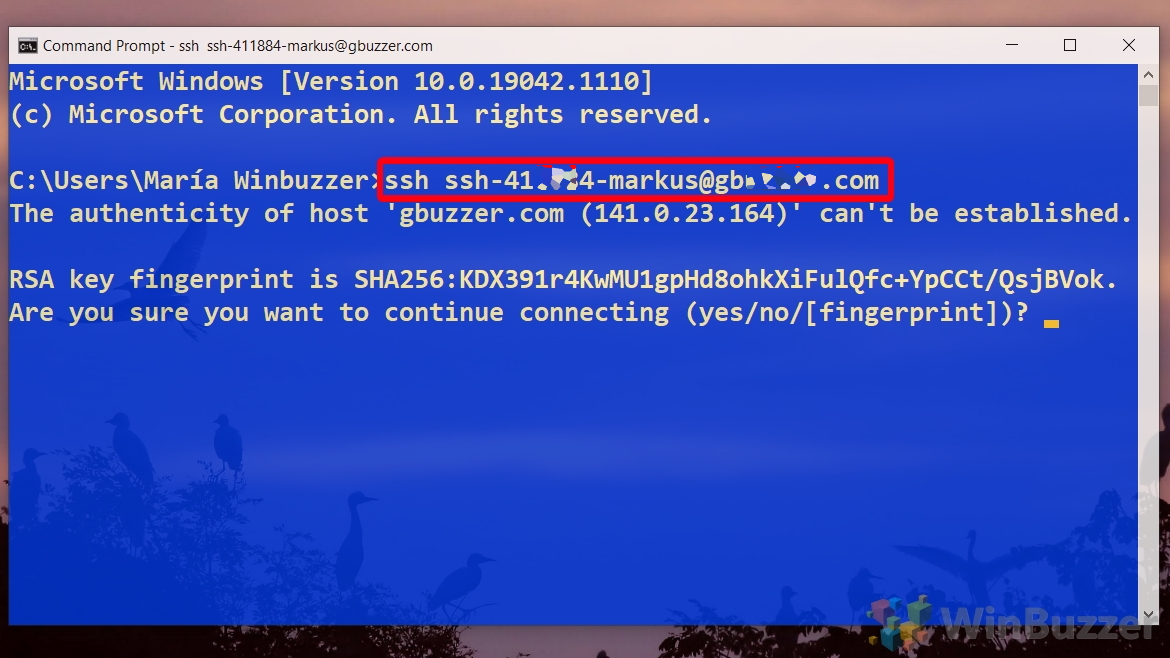
Alright, let’s talk about connecting to your SSH server. There are several ways to do this, depending on your preference and the device you’re using. If you’re on a Windows machine, you can use the built-in SSH command in PowerShell or Command Prompt. Just type in “ssh username@yourserverip” and hit enter. If you’ve set up SSH keys, you’ll be connected automatically. If not, you’ll be prompted to enter your password.
For Linux or macOS users, the process is similar. Open up your terminal and use the same command. If you’re using a mobile device, there are plenty of SSH clients available in the app stores. Some popular ones include Termius and JuiceSSH. Just enter your server’s IP address, username, and password (or SSH key), and you’re good to go.
And here’s a pro tip: consider setting up a static IP address for your server. This way, you won’t have to worry about your IP address changing every time you reboot your router. It’s a small step, but it can save you a lot of headaches in the long run.
Troubleshooting Connection Issues
What if you can’t connect to your SSH server? Don’t panic—here are a few things you can check:
- Make sure the SSH server is running on your Windows 10 machine.
- Check your firewall settings to ensure port 22 (or whatever port you’re using) is open.
- Verify that your IP address is correct and hasn’t changed.
If none of these work, it might be worth checking your router settings or contacting your internet service provider to see if there are any issues on their end. Remember, troubleshooting is all about process of elimination—keep trying until you find the root cause.
Managing Your RemoteIoT Web SSH Server
Once you’re connected to your SSH server, it’s time to start managing it. Whether you’re running scripts, managing files, or monitoring your IoT devices, SSH gives you the power to do it all from the command line. Here are a few tips to help you get the most out of your server:
First, familiarize yourself with basic SSH commands. Commands like “ls” (list files), “cd” (change directory), and “cp” (copy files) will become your best friends. There are tons of resources online to help you learn these commands, so don’t be afraid to dive in and experiment.
Next, consider setting up automation scripts to handle repetitive tasks. Whether it’s backing up your files, updating your system, or monitoring your IoT devices, automation can save you a ton of time and effort. Plus, it’s a great way to learn more about scripting and programming.
Finally, don’t forget to keep your server logs in check. Logs can provide valuable insights into what’s happening on your server and help you identify any potential issues before they become major problems. Think of them as your server’s diary—read them regularly to stay informed.
Advanced Management Techniques
If you’re feeling adventurous, here are a few advanced management techniques to try:
- Set up a cron job to run scripts at specific times.
- Use SSH tunneling to securely access other services on your network.
- Implement role-based access control to manage user permissions.
By mastering these techniques, you’ll become a true SSH wizard in no time. The sky’s the limit when it comes to what you can do with your remoteIoT web SSH server.
Integrating IoT Devices with Your SSH Server
Now, let’s talk about the fun part—integrating IoT devices with your SSH server. Whether you’re running a smart home setup, managing industrial sensors, or monitoring environmental conditions, SSH can help you keep everything under control. Here’s how:
First, make sure your IoT devices are connected to the same network as your SSH server. This will make it easier to communicate with them and reduce latency. Next, configure your devices to send data to your server using a protocol like MQTT or HTTP. This way, you can collect and analyze the data from a central location.
Once your devices are connected, you can use SSH to access and manage them remotely. Whether you’re updating firmware, troubleshooting issues, or simply checking on their status, SSH gives you the tools you need to stay in control. And with the power of Windows 10 at your disposal, you can even run complex scripts and analyses to make sense of all that data.
And here’s the best part: with IoT devices, the possibilities are endless. Whether you’re building a smart home, automating a factory, or monitoring a farm, SSH can help you bring your vision to life. So, get creative and see what you can build!
Best Practices for IoT Integration
Here are a few best practices to keep in mind when integrating IoT devices with your SSH server:
- Use secure communication protocols to protect your data.
- Regularly update your devices to patch any vulnerabilities.
- Monitor your devices’ performance to ensure they’re running smoothly.
By following these practices, you’ll ensure your IoT devices are as secure and reliable as possible. Remember, security and reliability are key when it comes to managing IoT devices.
Conclusion
Well, there you have it—a comprehensive guide to setting up and managing a remoteIoT web SSH server on Windows 10. From enabling the SSH server to securing your connection and integrating IoT devices, we’ve covered everything you need to know to get started. Whether you’re a tech pro or just starting out, SSH is a powerful tool that can help you take your tech game to the next level.
So, what are you waiting for? Grab your laptop, roll up your sleeves, and start exploring the world of remote access and IoT.

