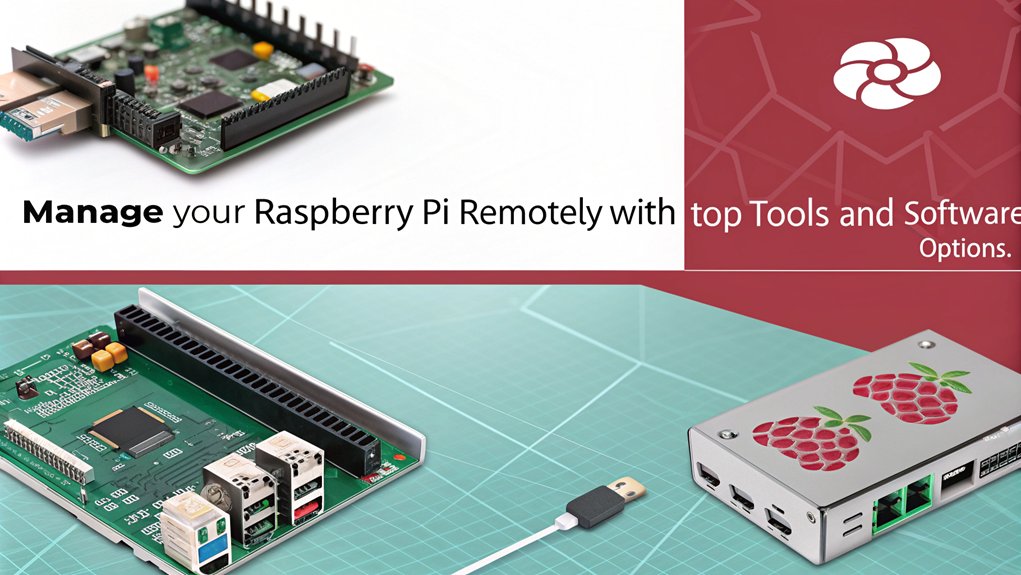
Mastering Raspberry Pi Remote Management: The Ultimate Guide
Listen up, tech enthusiasts! If you're diving into the world of Raspberry Pi, remote management is your golden ticket to unlocking its full potential. Imagine controlling your Pi from anywhere in the world, troubleshooting on the go, or even setting up a home automation system without lifting a finger. Sounds cool, right? Well, buckle up because we’re about to deep-dive into the nitty-gritty of Raspberry Pi remote management. This isn’t just another guide; it’s your one-stop-shop for mastering this game-changing skill.
Now, let’s get real for a moment. Remote management isn’t just a buzzword—it’s a necessity. Whether you’re a hobbyist tinkering with IoT projects or a professional managing server clusters, being able to access your Raspberry Pi remotely is a game-changer. But where do you start? That’s where we come in. This guide will walk you through everything you need to know, step by step, to make remote management a breeze.
Before we jump into the details, let’s set the stage. This guide isn’t just about throwing random tips at you. We’ve meticulously crafted it to ensure it’s packed with actionable insights, practical examples, and expert advice. Think of it as your personal cheat sheet for all things Raspberry Pi remote management. Ready? Let’s go!
Read also:Maripily Rivera Net Worth The Rise Of A Global Sensation
Why Raspberry Pi Remote Management Matters
Here’s the deal: Raspberry Pi is more than just a tiny computer—it’s a powerhouse for innovation. But what happens when you can’t physically access your Pi? That’s where remote management comes in. It’s not just about convenience; it’s about efficiency, scalability, and peace of mind. Whether you’re monitoring a weather station in your backyard or running a media server in your living room, remote management gives you the flexibility to control everything from afar.
The Benefits of Remote Management
- Accessibility: Access your Pi from anywhere, anytime, using just an internet connection.
- Efficiency: Streamline your workflow by managing multiple Pis without needing physical access.
- Security: With the right setup, you can ensure your Pi remains secure while being remotely accessible.
- Cost-Effectiveness: Save time and money by troubleshooting and maintaining your Pi remotely.
But here’s the kicker: not all remote management setups are created equal. You’ll need to choose the right tools and methods to ensure your experience is smooth and secure. That’s where this guide comes in—to help you navigate the options and find the best solution for your needs.
Understanding the Basics of Raspberry Pi Remote Management
Let’s break it down. At its core, Raspberry Pi remote management involves accessing your Pi over a network or the internet. This can be done using various tools and protocols, each with its own strengths and weaknesses. Whether you’re using SSH for secure command-line access or VNC for a graphical interface, understanding the basics is key to getting started.
Key Concepts to Know
Before we dive into the tools, let’s cover some fundamental concepts:
- SSH (Secure Shell): A protocol that allows you to securely access your Pi’s terminal remotely.
- VNC (Virtual Network Computing): A system that lets you remotely control your Pi’s graphical interface.
- Port Forwarding: A technique used to allow external access to your Pi’s services through your router.
- Dynamic DNS (DDNS): A service that maps your Pi’s IP address to a domain name, making it easier to access.
Now that you’ve got the basics down, let’s move on to the good stuff: setting up your Raspberry Pi for remote access.
Setting Up SSH for Raspberry Pi Remote Management
SSH is the go-to method for most Raspberry Pi users when it comes to remote management. It’s secure, efficient, and easy to set up. Here’s how you can get it running on your Pi:
Read also:Unlock Your Movie Night With Skymovieshdin The Ultimate Guide
Step-by-Step Guide to Enabling SSH
- Boot up your Raspberry Pi and log in to the desktop environment.
- Open the terminal and type
sudo raspi-configto launch the configuration tool. - Navigate to
Interfacing Optionsand selectSSH. - Choose
Enableand exit the configuration tool. - Reboot your Pi to apply the changes.
Once SSH is enabled, you can connect to your Pi using a terminal client like PuTTY (for Windows) or the built-in terminal app on macOS and Linux. Just enter your Pi’s IP address, username (usually pi), and password, and you’re good to go.
Exploring VNC for Graphical Remote Access
While SSH is great for command-line tasks, sometimes you need a graphical interface. That’s where VNC comes in. With VNC, you can remotely control your Pi’s desktop just as if you were sitting in front of it.
Setting Up VNC on Your Raspberry Pi
- Install the RealVNC server by running
sudo apt install realvnc-vnc-server realvnc-vnc-viewer. - Enable VNC through the
raspi-configtool underInterfacing Options. - Download the VNC Viewer app on your computer or mobile device.
- Connect to your Pi by entering its IP address in the VNC Viewer.
Voilà! You’re now in control of your Pi’s desktop from anywhere. Whether you’re editing files, running applications, or troubleshooting issues, VNC makes it all possible.
Securing Your Remote Connections
Security should always be a top priority when it comes to remote management. Leaving your Pi exposed to the internet without proper safeguards is like leaving your front door unlocked. Here are some tips to keep your Pi safe:
Best Practices for Securing Your Pi
- Change the Default Password: Never use the default
raspberrypassword. Set a strong, unique password for your Pi. - Use Key-Based Authentication: Instead of passwords, use SSH keys for added security.
- Enable a Firewall: Use tools like
ufwto control incoming and outgoing traffic. - Regularly Update Your Pi: Keep your Pi’s software up to date to patch any security vulnerabilities.
By following these best practices, you can rest easy knowing your Pi is protected from potential threats.
Advanced Techniques for Raspberry Pi Remote Management
Once you’ve mastered the basics, it’s time to level up your skills. There are several advanced techniques you can use to enhance your remote management capabilities:
Using Dynamic DNS for Easy Access
Dynamic DNS (DDNS) is a lifesaver when it comes to accessing your Pi from outside your local network. Instead of dealing with ever-changing IP addresses, DDNS maps your Pi’s IP to a domain name, making it easier to connect. Services like No-IP and DuckDNS offer free DDNS solutions that integrate seamlessly with Raspberry Pi.
Setting Up Port Forwarding
Port forwarding allows you to access your Pi’s services from the internet by configuring your router to direct traffic to your Pi’s IP address. While this can be a bit tricky, it’s essential if you want to access your Pi from anywhere in the world.
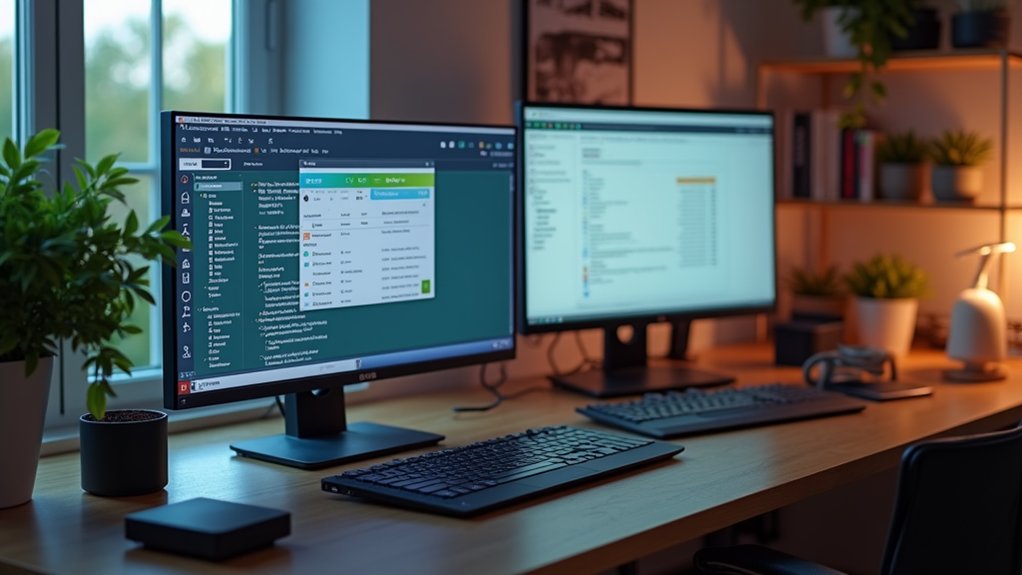
Tools and Software for Raspberry Pi Remote Management
There’s no shortage of tools and software available to help you manage your Raspberry Pi remotely. Here are some of the best options:
Top Tools for Remote Management
- SSH Clients: PuTTY (Windows), Terminal (macOS/Linux).
- VNC Clients: RealVNC Viewer, TightVNC.
- DDNS Services: No-IP, DuckDNS.
- Firewall Tools: UFW (Uncomplicated Firewall).
Choosing the right tools can make all the difference in your remote management experience. Experiment with different options to find what works best for you.
Troubleshooting Common Issues
Even the best-laid plans can go awry. If you’re having trouble with your Raspberry Pi remote management setup, don’t panic. Here are some common issues and how to fix them:
Connection Problems
- Check Your IP Address: Make sure you’re using the correct IP address to connect to your Pi.
- Verify Network Settings: Ensure your Pi is connected to the same network as your device.
- Restart Services: Restart SSH or VNC services on your Pi if they’re not responding.
By troubleshooting these issues, you can quickly get back on track and regain control of your Pi.
Real-World Applications of Raspberry Pi Remote Management
So, how can you apply Raspberry Pi remote management in the real world? The possibilities are endless. Here are a few examples:
Use Cases for Remote Management
- Home Automation: Control smart home devices and monitor your home from anywhere.
- Media Server: Stream movies and music from your Pi without needing physical access.
- IoT Projects: Monitor and manage IoT devices remotely for real-time data collection.
With Raspberry Pi remote management, the sky’s the limit. Get creative and see what you can build!
Conclusion: Take Your Raspberry Pi Skills to the Next Level
And there you have it—your ultimate guide to Raspberry Pi remote management. From understanding the basics to mastering advanced techniques, you’re now equipped with the knowledge and tools to take your Pi skills to the next level. But remember, practice makes perfect. The more you experiment and tinker, the better you’ll become.
So, what are you waiting for? Dive in, explore, and let us know how it goes. Leave a comment below, share this guide with your fellow Pi enthusiasts, and don’t forget to check out our other articles for more Raspberry Pi goodness. Happy tinkering!
Table of Contents
- Why Raspberry Pi Remote Management Matters
- Understanding the Basics of Raspberry Pi Remote Management
- Setting Up SSH for Raspberry Pi Remote Management
- Exploring VNC for Graphical Remote Access
- Securing Your Remote Connections
- Advanced Techniques for Raspberry Pi Remote Management
- Tools and Software for Raspberry Pi Remote Management
- Troubleshooting Common Issues
- Real-World Applications of Raspberry Pi Remote Management
- Conclusion


