Mastering Remote Manage IoT Over Internet Raspberry Pi Ubuntu: The Ultimate Guide
Hey there, tech enthusiast! If you're diving into the world of IoT (Internet of Things) and want to explore how to remotely manage IoT devices over the internet using Raspberry Pi and Ubuntu, you're in the right place. This guide is packed with actionable insights, step-by-step instructions, and expert tips to help you master this cutting-edge technology. Whether you're a beginner or an experienced developer, this article will be your go-to resource for all things related to remote IoT management.
Managing IoT devices remotely might sound like a complex task, but with the right tools and knowledge, it becomes a breeze. In this digital age, IoT is revolutionizing the way we interact with technology. From smart homes to industrial automation, the possibilities are endless. And when it comes to remote management, Raspberry Pi paired with Ubuntu provides a powerful and cost-effective solution.
So, buckle up and get ready to embark on a journey to unlock the full potential of your IoT projects. Let's dive in and explore how you can remotely manage IoT devices using Raspberry Pi and Ubuntu. The future of smart technology is here, and you're about to become a part of it!
Read also:Emma Anturin Erome The Rising Star In The Spotlight
Understanding the Basics of IoT and Remote Management
Before we dive deep into the technicalities, let's first break down what IoT and remote management actually mean. IoT refers to the network of physical devices embedded with sensors, software, and connectivity that allows them to exchange data. Remote management, on the other hand, involves controlling and monitoring these devices from a distance over the internet. This combination opens up a world of opportunities for innovation and efficiency.
Why Use Raspberry Pi for IoT?
Raspberry Pi has become the go-to device for IoT enthusiasts worldwide. Here's why:
- Cost-Effective: Raspberry Pi is an affordable option for setting up IoT projects.
- Versatile: It supports a wide range of applications and can be customized to meet specific needs.
- Community Support: A vibrant community of developers provides endless resources and support.
Ubuntu: The Perfect OS for Raspberry Pi
Ubuntu is a popular Linux-based operating system that works seamlessly with Raspberry Pi. Its stability, security, and ease of use make it an ideal choice for IoT projects. With Ubuntu, you can easily set up and manage your IoT devices without worrying about compatibility issues.
Setting Up Your Raspberry Pi for IoT
Now that you understand the basics, let's move on to setting up your Raspberry Pi for IoT. This step is crucial as it lays the foundation for your remote management system.
What You'll Need
Here's a list of things you'll need to get started:
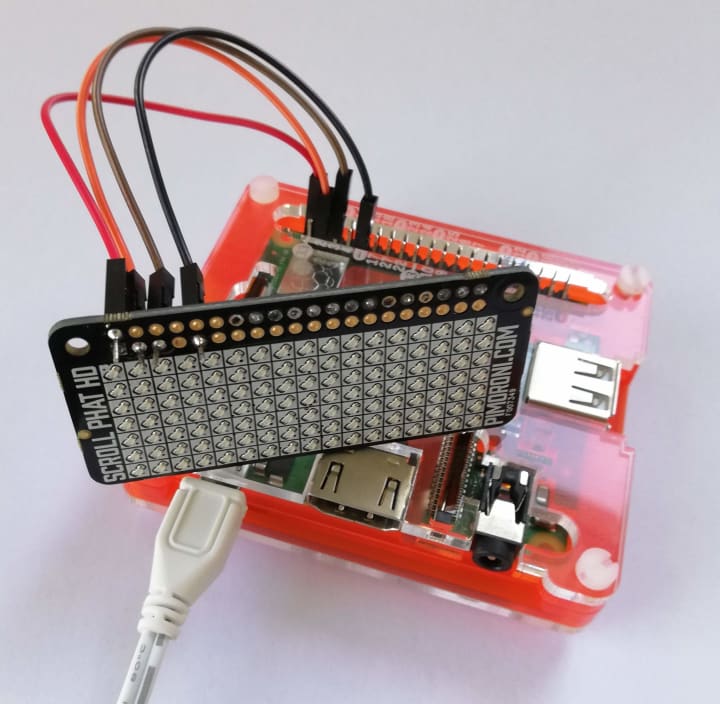
- Raspberry Pi (preferably Raspberry Pi 4)
- MicroSD card (16GB or higher)
- Power supply
- Keyboard and mouse
- HDMI monitor (optional)
- Ethernet cable or Wi-Fi connection
Installing Ubuntu on Raspberry Pi
Installing Ubuntu on your Raspberry Pi is a straightforward process. Follow these steps:
Read also:Unlocking The Power Of Remote Iot Vpc Network With Raspberry Pi
- Download the Ubuntu image for Raspberry Pi from the official website.
- Use a tool like Etcher to flash the image onto your MicroSD card.
- Insert the MicroSD card into your Raspberry Pi and power it on.
- Follow the on-screen instructions to complete the installation.
Connecting Your Raspberry Pi to the Internet
For remote management, your Raspberry Pi needs to be connected to the internet. Here's how you can do it:
Wired Connection
Using an Ethernet cable is the most reliable way to connect your Raspberry Pi to the internet. Simply plug one end of the cable into your router and the other into your Raspberry Pi.
Wireless Connection
If you prefer a wireless setup, follow these steps:
- Open the terminal on your Raspberry Pi.
- Use the command
wifi-menuto configure your Wi-Fi settings. - Enter your network credentials and save the configuration.
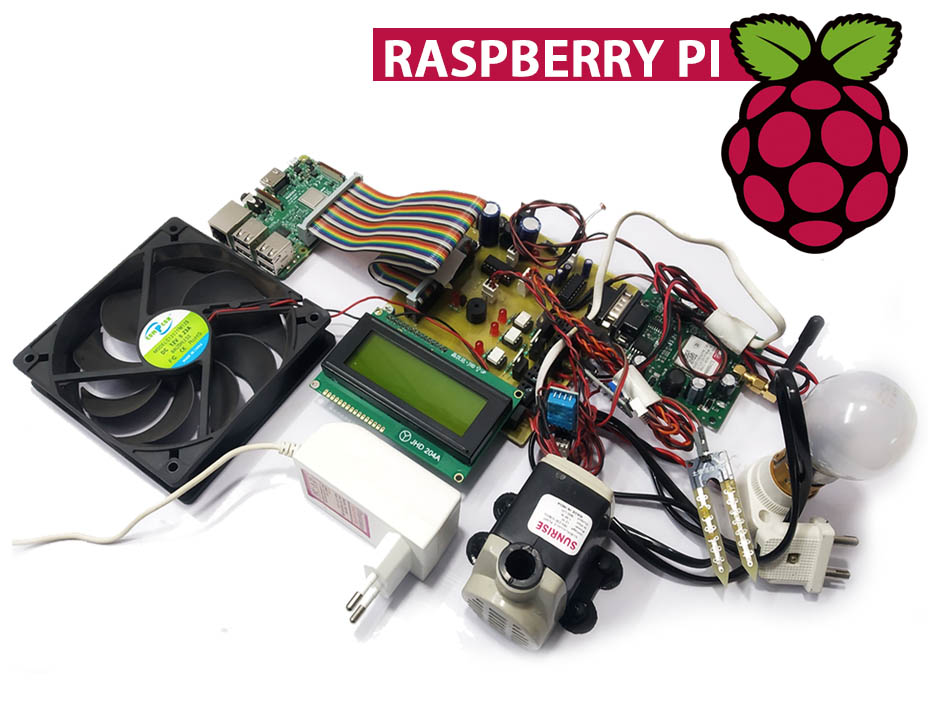
Setting Up IoT Devices
With your Raspberry Pi up and running, it's time to set up your IoT devices. This involves connecting sensors, actuators, and other peripherals to your Raspberry Pi.
Connecting Sensors
Sensors are the eyes and ears of your IoT system. Here's how to connect them:
- Use GPIO pins on your Raspberry Pi to connect sensors.
- Install the necessary drivers and libraries for your specific sensors.
- Test the sensors to ensure they're working correctly.
Configuring Actuators
Actuators allow you to control physical devices remotely. Follow these steps:
- Identify the type of actuator you're using (e.g., relay, motor).
- Connect the actuator to your Raspberry Pi using appropriate interfaces.
- Write scripts to control the actuator based on sensor data.
Securing Your IoT System
Security is a top priority when it comes to IoT. Here's how you can secure your system:
Updating Software
Regularly update your Raspberry Pi's software to patch vulnerabilities. Use the following commands:
sudo apt updatesudo apt upgrade
Setting Up Firewalls
A firewall can help protect your IoT devices from unauthorized access. Install and configure a firewall using the following command:
sudo ufw enable
Remote Management Techniques
Now that your system is secure, let's explore different techniques for remote management.
Using SSH
SSH (Secure Shell) is a popular method for remotely accessing your Raspberry Pi. Here's how to set it up:
- Enable SSH on your Raspberry Pi by running
sudo raspi-config. - Use an SSH client like PuTTY to connect to your Raspberry Pi from another device.
Implementing Web Interfaces
Web interfaces provide a user-friendly way to manage IoT devices remotely. Follow these steps:
- Install a web server like Apache or Nginx on your Raspberry Pi.
- Create a web page to display sensor data and control actuators.
- Access the web page from any device with a browser.
Troubleshooting Common Issues
Even with the best setup, issues can arise. Here are some common problems and their solutions:
Network Connectivity Problems
If your Raspberry Pi loses internet connectivity, try these troubleshooting steps:
- Check the Ethernet or Wi-Fi connection.
- Restart the network service using
sudo service networking restart.
Device Not Responding
If your IoT devices aren't responding, consider the following:
- Verify the sensor and actuator connections.
- Check the power supply to ensure it's stable.
Best Practices for IoT Remote Management
To ensure smooth operation, follow these best practices:
Regular Maintenance
Perform routine maintenance tasks such as:
- Backing up data regularly.
- Monitoring system performance.
Documentation
Keep detailed documentation of your setup, including:
- Device configurations.
- Software versions.
Conclusion and Call to Action
Managing IoT devices remotely using Raspberry Pi and Ubuntu might seem daunting at first, but with the right approach, it becomes an exciting adventure. By following this guide, you've gained the knowledge and tools needed to successfully implement and manage your IoT projects.
Now it's your turn to take action! Start experimenting with your Raspberry Pi and explore the endless possibilities of IoT. Share your experiences in the comments below and don't forget to check out our other articles for more tech insights. Happy tinkering, and see you in the next one!
Table of Contents
- Understanding the Basics of IoT and Remote Management
- Why Use Raspberry Pi for IoT?
- Ubuntu: The Perfect OS for Raspberry Pi
- Setting Up Your Raspberry Pi for IoT
- Connecting Your Raspberry Pi to the Internet
- Setting Up IoT Devices
- Securing Your IoT System
- Remote Management Techniques
- Troubleshooting Common Issues
- Best Practices for IoT Remote Management


 and want to explore how to remotely manage IoT devices over the internet)