Raspberry Pi VPC IoT Tutorial: Your Ultimate Guide To Building A Cloud-Connected Device
Imagine this: You’re sitting at home, sipping your coffee, and suddenly you realize how powerful the combination of Raspberry Pi, Virtual Private Cloud (VPC), and IoT can be. If you’re here, chances are you’re already intrigued by the idea of creating a smart device that interacts seamlessly with the cloud. Well, buckle up because this Raspberry Pi VPC IoT tutorial is about to take you on an adventure that’ll turn you into a tech wizard!
So, let’s break it down for you. What exactly is Raspberry Pi VPC IoT? Think of Raspberry Pi as the brain of your project, VPC as the secure space where all your data lives, and IoT as the magical glue that connects everything together. This setup allows you to build projects that can interact with the real world, collect data, and even automate tasks. Who wouldn’t want that?
Whether you’re a hobbyist looking to dip your toes into the world of IoT or a professional aiming to create scalable solutions, this tutorial has got your back. We’ll walk you through everything from setting up your Raspberry Pi to configuring VPC and building an IoT application that actually works. Let’s dive in, shall we?
Read also:Unlock The Power Of Remoteiot Vpc Download Aws For Your Business
But first, here’s a quick roadmap to help you navigate this guide:
- Introduction to Raspberry Pi VPC IoT
- Raspberry Pi Basics: Understanding the Hardware
- What is VPC and Why Use It for IoT?
- IoT Basics: The Building Blocks of Connectivity
- Setting Up Your Raspberry Pi
- Configuring VPC for IoT
- Connecting IoT Devices to VPC
- Project Ideas for Raspberry Pi VPC IoT
- Common Issues and How to Fix Them
- Wrapping It Up: Your Next Steps
Introduction to Raspberry Pi VPC IoT
Alright, let’s start with the basics. The term "Raspberry Pi VPC IoT" might sound intimidating at first, but it’s actually pretty straightforward once you break it down. Raspberry Pi is a tiny computer that’s perfect for tinkering, learning, and building cool projects. VPC, or Virtual Private Cloud, is essentially a private network in the cloud where you can store and process data securely. And IoT, or the Internet of Things, refers to the network of physical devices that can communicate with each other and the internet.
When you combine these three elements, you get a powerful setup that can do some pretty amazing things. For example, you could build a smart home system that monitors temperature, controls lighting, or even alerts you when someone rings the doorbell. The possibilities are endless!
But why should you care? Well, for starters, IoT is one of the fastest-growing tech trends out there. According to a report by Statista, the global IoT market is expected to reach $1.5 trillion by 2030. That’s a lot of zeros! Plus, learning how to use Raspberry Pi with VPC and IoT can open up doors to new career opportunities or just help you geek out on some fun projects.
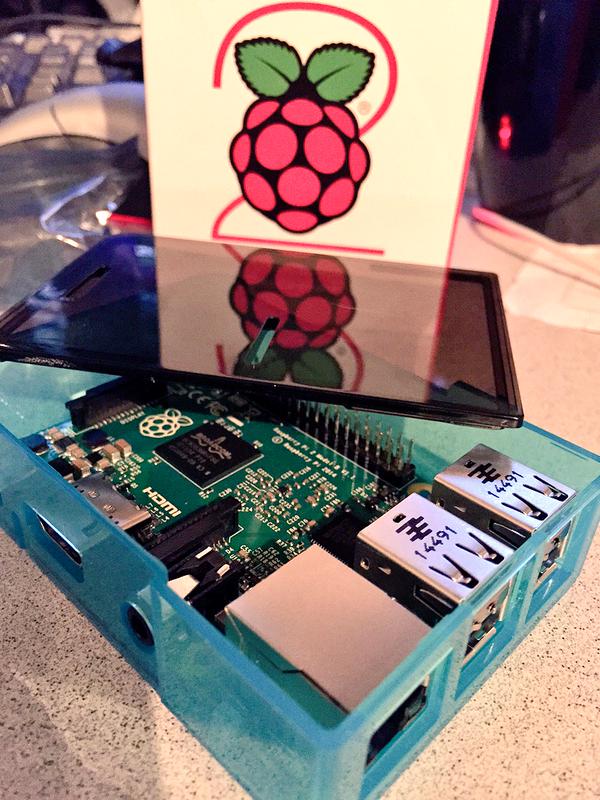
Raspberry Pi Basics: Understanding the Hardware
What is Raspberry Pi?
Raspberry Pi is like the Swiss Army knife of computers. It’s small, affordable, and versatile. You can use it for anything from running a media center to building a robot. The latest models, like the Raspberry Pi 4, come with enough power to handle complex tasks, making them perfect for IoT projects.
Here’s a quick rundown of what you get with a Raspberry Pi:
Read also:Aagmaal Come Your Ultimate Guide To Understanding The Phenomenon
- Processor: A powerful ARM-based CPU that can handle multiple tasks.
- Memory: Depending on the model, you can get anywhere from 2GB to 8GB of RAM.
- Connectivity: Built-in Wi-Fi, Bluetooth, and Ethernet ports for seamless connectivity.
- GPIO Pins: General-purpose input/output pins that allow you to connect sensors, motors, and other devices.
Oh, and did I mention it’s super affordable? You can pick up a Raspberry Pi for around $35. Not too shabby, right?
What is VPC and Why Use It for IoT?
Understanding Virtual Private Cloud
VPC stands for Virtual Private Cloud, and it’s essentially a secure and isolated section of a cloud provider’s infrastructure. Think of it as your own private sandbox in the cloud where you can store data, run applications, and connect devices without worrying about security breaches.
Why is VPC so important for IoT? Well, IoT devices generate a ton of data, and you need a secure place to store and process all that information. VPC provides a controlled environment where you can manage access, set up firewalls, and ensure that only authorized devices can connect to your network.
Plus, VPC integrates seamlessly with cloud services like AWS, Google Cloud, and Azure, making it easy to scale your projects as they grow. Whether you’re building a simple home automation system or a complex industrial IoT solution, VPC has got your back.
IoT Basics: The Building Blocks of Connectivity
What Makes IoT Tick?
IoT is all about connecting things—devices, sensors, and even people—to the internet. But how does it actually work? Let’s break it down into its basic components:
- Devices: These are the physical objects that make up your IoT system, like Raspberry Pi, sensors, and actuators.
- Connectivity: This is how your devices communicate with each other and the cloud. Options include Wi-Fi, Bluetooth, Zigbee, and more.
- Data: IoT devices generate a ton of data, which needs to be collected, processed, and analyzed to provide useful insights.
- Applications: These are the programs that turn raw data into actionable information, like alerts, reports, or automated actions.
By combining these elements, you can create smart systems that interact with the real world in meaningful ways. For example, you could build a weather station that collects data from sensors, sends it to the cloud, and generates reports that you can access from anywhere.
Setting Up Your Raspberry Pi
Step-by-Step Guide to Getting Started
Now that you know what Raspberry Pi is, let’s talk about how to set it up. Don’t worry—it’s not as complicated as it sounds. Here’s what you need to do:
- Get the Essentials: Make sure you have a Raspberry Pi, a power supply, a microSD card, and a keyboard/mouse or access to another computer.
- Install the OS: Download Raspberry Pi OS from the official website and use a tool like BalenaEtcher to flash it onto your microSD card.
- Connect to Wi-Fi: During the setup process, you’ll be prompted to enter your Wi-Fi credentials. This will allow your Raspberry Pi to connect to the internet.
- Update the System: Once you’re up and running, open a terminal and run
sudo apt updateandsudo apt upgradeto ensure everything is up to date.
And just like that, your Raspberry Pi is ready to go! Next, let’s talk about how to connect it to VPC.
Configuring VPC for IoT
Setting Up Your Cloud Environment
Configuring VPC for IoT might sound intimidating, but with the right tools, it’s actually pretty straightforward. Here’s how you can set it up:
- Choose a Cloud Provider: AWS, Google Cloud, and Azure all offer robust VPC solutions. For this tutorial, we’ll use AWS as an example.
- Create a VPC: Log in to your AWS account and navigate to the VPC dashboard. Click on "Create VPC" and follow the prompts to set up your network.
- Set Up Security Groups: Security groups act as virtual firewalls that control access to your VPC. Make sure to configure them properly to allow only authorized traffic.
- Connect Your Raspberry Pi: Use SSH to connect your Raspberry Pi to your VPC. This will allow it to communicate with other devices in your network.
With VPC configured, your Raspberry Pi is now part of a secure cloud environment where it can interact with other devices and services.
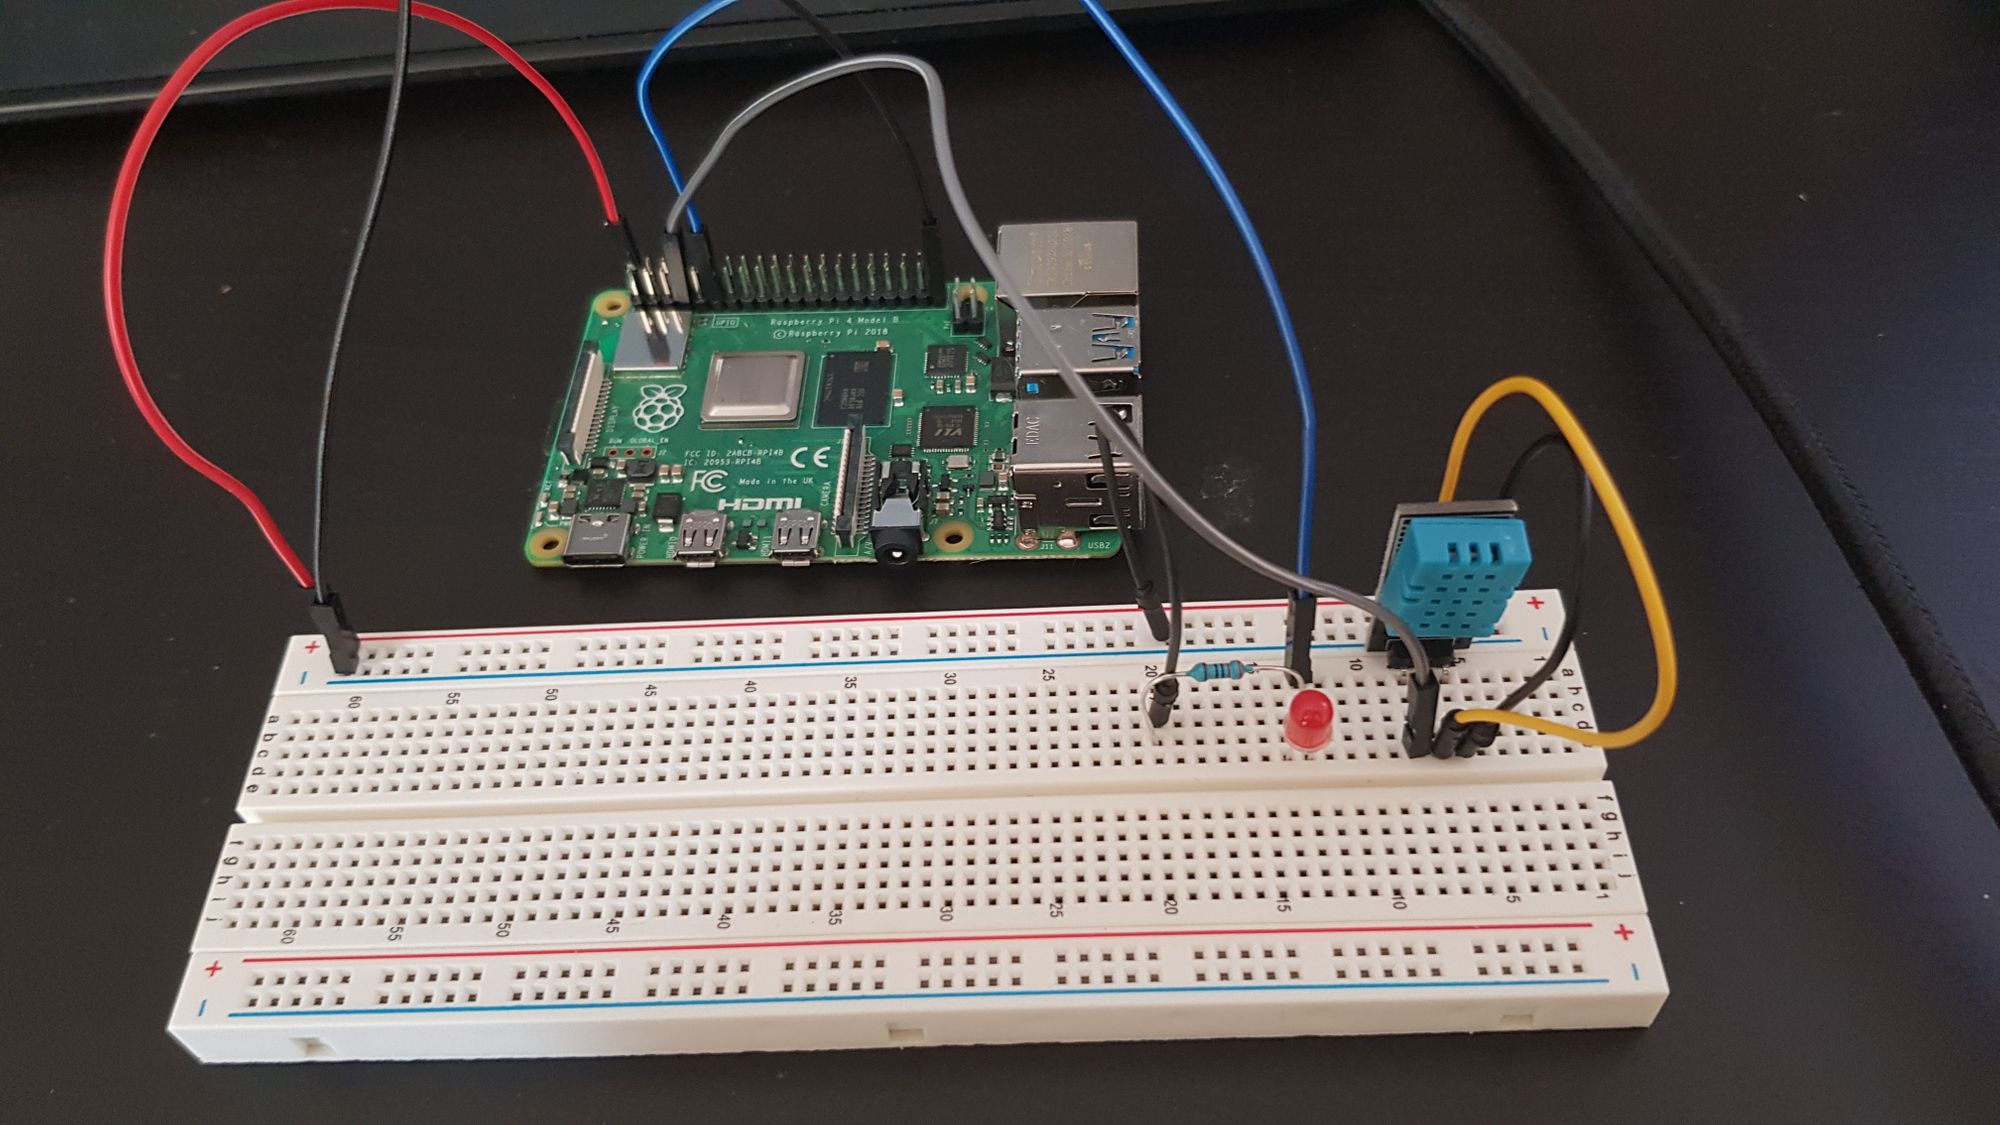
Connecting IoT Devices to VPC
Making Your Devices Talk to Each Other
Now that your Raspberry Pi is connected to VPC, it’s time to start adding IoT devices. Here’s how you can do it:
- Install MQTT: MQTT is a lightweight protocol that’s perfect for IoT communication. Install it on your Raspberry Pi using
sudo apt install mosquitto. - Set Up Sensors: Connect sensors like temperature, humidity, or motion detectors to your Raspberry Pi using GPIO pins.
- Write Some Code: Use Python or another programming language to write scripts that collect data from your sensors and send it to the cloud.
- Visualize the Data: Use tools like Grafana or AWS IoT Analytics to create dashboards that display your data in real-time.
Voilà! Your IoT devices are now connected to VPC and ready to start collecting data.
Project Ideas for Raspberry Pi VPC IoT
Let Your Imagination Run Wild
Now that you’ve got the basics down, it’s time to start thinking about what kind of projects you want to build. Here are a few ideas to get you started:
- Smart Home System: Build a system that controls lighting, temperature, and security using Raspberry Pi and IoT sensors.
- Weather Station: Create a weather station that collects data from sensors and sends it to the cloud for analysis.
- Automated Greenhouse: Set up a system that monitors soil moisture, temperature, and light levels to optimize plant growth.
- Personal Assistant: Develop a voice-activated assistant that can perform tasks like playing music, setting reminders, or controlling smart devices.
The only limit is your imagination. So go ahead and experiment with different ideas to see what you can create!
Common Issues and How to Fix Them
Overcoming Obstacles in Your Raspberry Pi VPC IoT Journey
Let’s face it—no project goes perfectly the first time. Here are some common issues you might encounter and how to fix them:
- Connection Problems: If your Raspberry Pi can’t connect to VPC, double-check your network settings and ensure that your security groups are configured correctly.
- Data Loss: If you’re losing data from your sensors, make sure your MQTT broker is running properly and that your scripts are sending data at regular intervals.
- Performance Issues: If your Raspberry Pi is running slowly, consider upgrading to a more powerful model or optimizing your code to reduce resource usage.
Remember, troubleshooting is all part of the learning process. Don’t get discouraged if things don’t work the first time—keep experimenting until you find a solution.
Wrapping It Up: Your Next Steps
And there you have it—a comprehensive guide to Raspberry Pi VPC IoT. From setting up your Raspberry Pi to configuring VPC and building IoT projects, you now have all the tools you need to create something amazing.
But don’t stop here! The world of IoT is constantly evolving, and there’s always something new to learn. Keep exploring, experimenting, and pushing the boundaries of what’s possible. And don’t forget to share your projects with the world—after all, the best part of tinkering is showing off what you’ve built.
So, what are you waiting for? Grab your Raspberry Pi, fire up your VPC


